Monday, January 30, 2012

Queso Dip

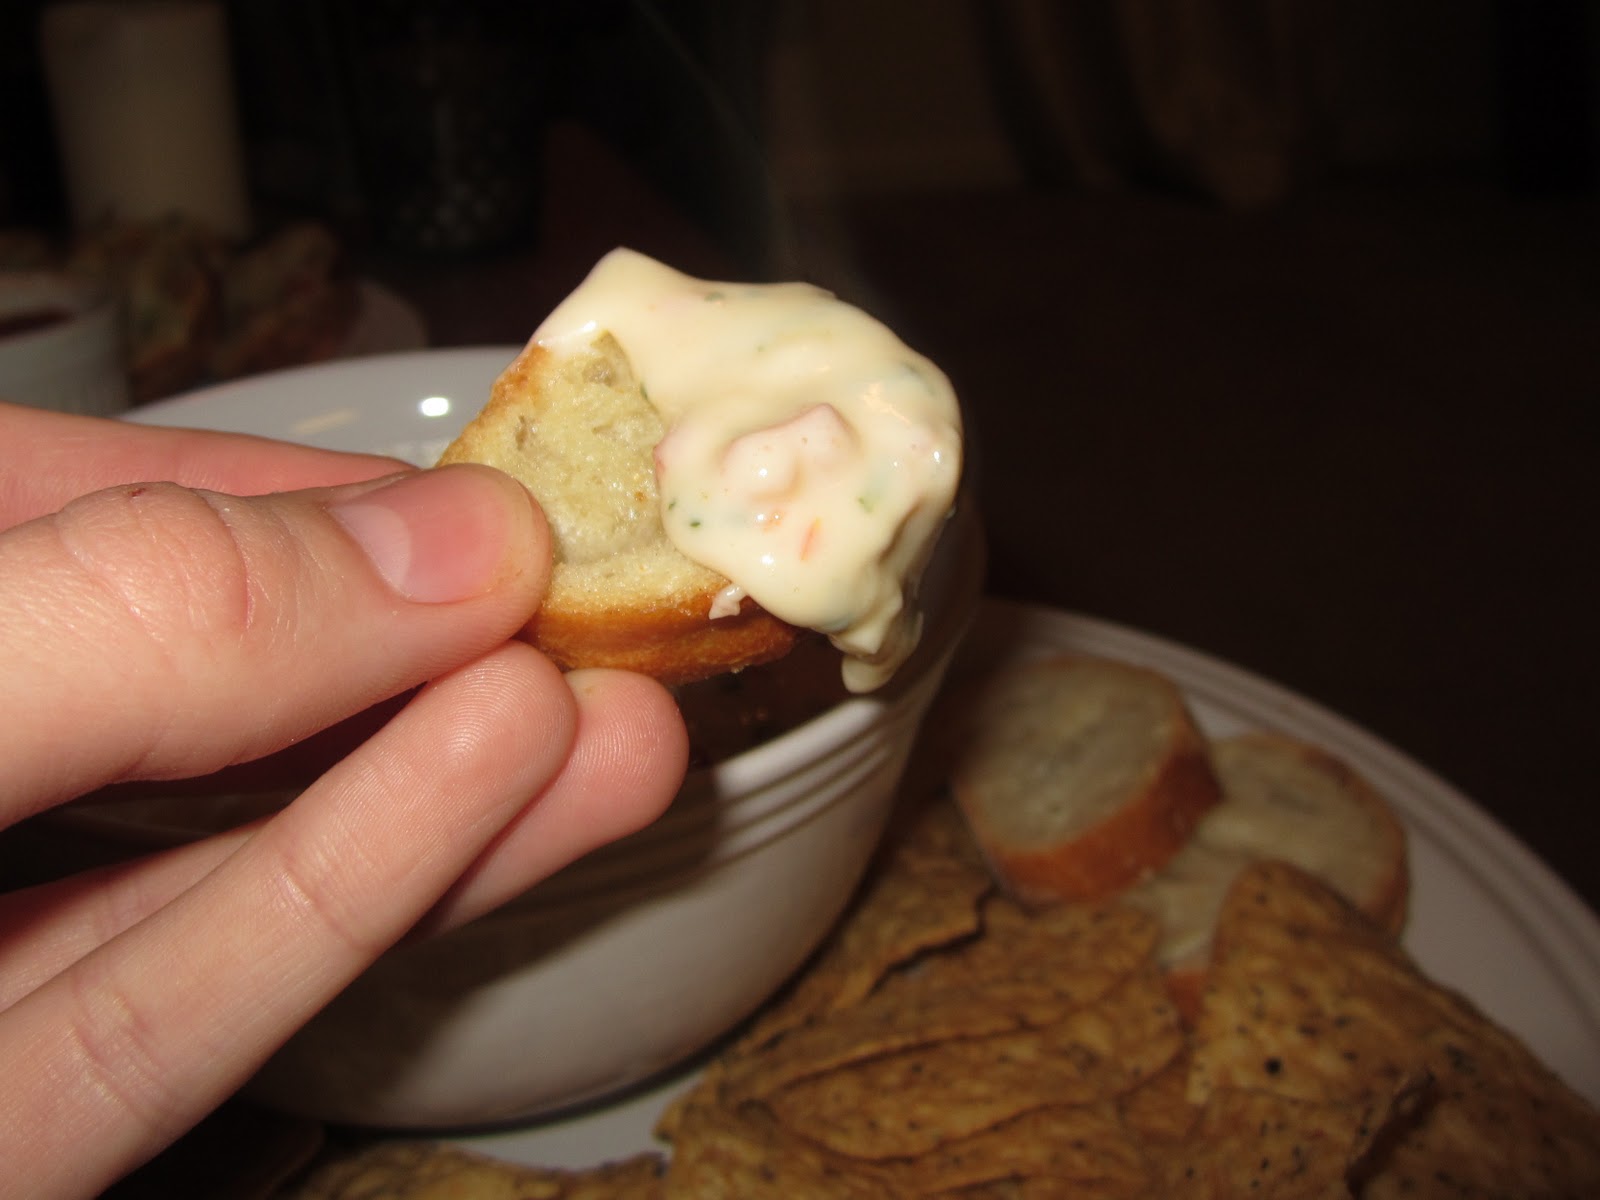
It's no secret that my roommate Courtney and I LOVE Mexican food. We also happen to love any kind of appetizer, and would actually prefer them over eating a real meal. I mean who doesn't love dip? We sure do. I had been gawking at this recipe for queso for a pretty long time and finally I decided to give it a try (it also didn't hurt that there was a buy one get one free cheese deal at Harris Teeter - I can't resist buy one get one free I just can't). All I have to say about this recipe is HOLY QUESO this dip is soooo good. My mouth is watering just thinking about it. Not only is it amazing right after it is made, but it lasts so well in the fridge. Popping that hot cheesy goodness in the microwave after a late night out (during chilly winter term no less) is the most heavenly midnight snack you will ever eat. That and maybe a hot-dog from kangaroo, but there is really no comparison.

recipe adapted from Let's Dish 

Queso Dip
Ingredients 
1 tablespoon olive oil
1/4 cup white onion, finely chopped
16 ounces white American cheese, shredded or cubed
4 ounces Monterrey and Colby Jack Cheese, shredded 
3/4 cup cream or half and half 
half a can of diced tomatoes and green chilies
1 Roma tomato, seeds removed and diced 
1 small bunch of cilantro, roughly chopped 

Directions 
Sauté the onions and olive oil together over medium heat until the onions are pretty much transparent. Pour the cheese and cream over the onions and let melt, stirring occasionally. Add the half can of diced tomatoes and chilies, the diced Roma tomato and the chopped cilantro. Stir and serve hot. (if it gets to cool and starts to stiffen at the top, just pop it in the microwave and it will go right back to the way it was. I mean it’s not velvetta, it can’t stay melted forever!)


Thursday, January 26, 2012

Chocolate Crinkle Cookies


At the Hill School we always had a pretty impressive dessert table. Unlike at Elon, there was no glass wall that prevented you from grabbing as many desserts as you could hold (which definitely explains the rather hefty thighs I had in high school). For some reason I had a craving for their chocolate crinkle cookies, which they had actually all the time. I also wanted to try something a little different as well because I feel like all the cookies I bake are generally pretty traditional. These cookies are great, but they aren't my favorite. I'll eat them, sure. But I won't get that insatiable craving that I do for all of my other cookie recipes (the neimans, the ny times chocolate chip, those sugar cookies, the oatmeal ones!! I mean I could keep going...) Its a good recipe to have though and they are definitely pretty to look at too!


Chocolate Crinkle Cookies 
Ingredients 

Ingredients
8 ounces bittersweet chocolate, finely chopped, melted and cooled
1 ¼ cups all-purpose flour
½ cup unsweetened cocoa powder
2 teaspoons baking powder
¼ teaspoon salt
1 stick unsalted butter, room temperature
1 ½ cups packed light brown sugar
2 large eggs
1 teaspoon vanilla extract
1/3 cup whole milk

1 cup sugar
1 cup confectioners’ sugar  

Directions
In a double boiler, melt the bittersweet chocolate. Let it cool completely


With an electric mixer, cream the butter and brown sugar until light and fluffy. Then add the eggs and vanilla until lighter and fluffier. Then add the melted chocolate.


In a separate bowl, combine the flour, cocoa powder, baking powder and salt. Instead of dirtying another bowl, I like to sift the dry ingredients over the wet in two stages. With the mixer on low speed, rotate adding the dry ingredients and then the wet ingredients in four rotations. Make sure to always begin and end with the dry ingredients. Cover with bowl with tin foil and refrigerate for at least 2 hours.


Preheat the oven to 350˚. With an ice cream scoop, scoop out the cookie dough and roll it into a ball. Dip cookie dough ball into the granulated sugar and lightly press into a disk. Then dip it in the confectioners’ sugar. Place the cookies on a silpat or parchment paper (I think tin foil would work too)

Bake for about 14 minutes or until the cookie cracks. I baked it for 10 minutes though because I thought they tasted better a little undercooked because they were less dry (but that’s just me). 


Tuesday, January 24, 2012

Apple Muffins


Even though I made these forever ago, I literally haven't had any time to write a post until now. I think its a pretty known fact that I like to take an embarrassing amount of fruit from our dining halls so I don't have to pay for them myself. As a result I sit in my apartment, day dreaming about what free ingredients I can scavenge from around the campus to bake with. Banana bread was just the beginning. Thankfully all the dining halls serve green apples which are perfect for baking because they resemble granny smith in texture and tartness (perhaps they are grannies, I mean who knows for sure). I had been wanting to make apple muffins for a while as well so finally the timing was perfect. (sometimes I forget to bring a bag to the dining halls and thus am nervous about getting caught with a bundle of apples or bananas in my hands...)


Friday, January 13, 2012

Butternut Sqaush Salad with Homemade Vinnaigrette

  My sister, Melanie, made this salad for me when I visited her in New York over my fall break last semester. It was literally one of the best salads I had ever had. Everything about it was just exceptional. It hit all the right buds. Thankfully my sisters also have a food blog called Dinner Sisters, and I was able to get a hold of her outstanding recipe pretty easily (and you can too! via my blog and not there's...pity me I have less followers...). Both of my sisters are pretty great at the whole savory, healthy, real food kind of thing. I can't deny that most of my food is even remotely healthy, especially since its almost always a baked good.  And whats even more pathetic is that this salad was actually the first salad I have made 100% from scratch (dressing and all). Thankfully its pretty easy and doesn't make that big of a mess to prepare (the exception I think being the roasted squash and walnuts).

So in conclusion, this is the only salad and dressing recipe I will ever need. I might toss one with a little protein into my repertoire but for now this is it. (until I learn to make the dressing for the avocado salad from Red Bowl because that salad is the jaaammm)


Butternut Squash Salad with Homemade Vinaigrette
*Butternut Squash, cubed and Roasted
Crumbled Goat cheese (the best cheese in the world)
Craisins
*Candied Walnuts
Bag of fresh Baby Spinach

 *Homemade Vinaigrette

Roasted Butternut Squash
Ingredients
Cubed Butternut Squash (can be purchased pre-cubed in your groceries frozen vegetables section)

about 2 tablespoons Olive Oil
and about 2 tablespoons Maple Syrup (use your best judgement)
Salt
Pepper

Directions
Preheat your oven to 400 degrees. In a bowl, toss the cubed squash together with the other ingredients so that they are well covered. Pour the squash onto greased tin foil or a silpat (if you don't grease it they stick). Bake for about 20 minutes or until the edges of the cubes are nice and brown.


Candied Walnuts
Ingredients 

½ cup walnuts
2 ½ tablespoons of butter
¼ cup light brown sugar

Directions
In a skillet over medium heat, start by melting the butter and brown sugar. Then add the walnuts. When the walnuts look completed glazed and the mixture gets slightly darker, pour the nuts onto waxed paper and let them cool completely.

Homemade Vinaigrette
Ingredients
2 tablespoons honey
1½ tablespoons Dijon mustard
3 tablespoons apple cider vinegar
 ½ teaspoons salt
 ¼ teaspoons freshly ground black pepper
 5 tablespoons Olive Oil

Directions

Briskly whisk or shake all of your ingredients together and you’re finished. Pretty simple. It might help to slightly warm the honey in the microwave first but it’s not entirely necessary. 


Sunday, January 8, 2012

Eggnog Cupcakes with Eggnog Cream Cheese Frosting


I don't like eggnog. At all. It's just not something my family ever got into. I think I could drink an eggnog latte but otherwise the real thing is just way too thick for my taste. I guess we were always the boring hot chocolate kind of people because hot apple cider wasn't our thing either. For some reason though, I just couldn't pass up the idea of eggnog cupcakes. It just sounded so good to me. With cream cheese frosting? Well all of my cupcakes basically have cream cheese involved somehow, but it seemed like it would pair perfectly with the eggnog by toning down the usually overwhelming eggy taste.

I did a lot of reasearch and I found the perfect recipe on one of my favorite food blogs, Annie's Eats. The cupcakes were amaazinngg. The texture was a little different than the average cupcake, probably because the recipe called for vegetable oil instead of butter, but they were so moist and delicious. They were slightly spongier than the normal cakey cake but not in a bad way. I'm considering making these every year now because they were honestly that good. I also invented my own frosting recipe to go with her cupcakes and not to toot my own horn or anything, but that was pretty killer as well. While eggnog is still in stores, I definitely suggest giving these a try.


Eggnog Cupcakes with Eggnog Cream Cheese Frosting 

The cupcake recipe is taken from a blog called Annie’s Eats (no adaptions or alterations. I just didn’t add the rum). The cream cheese icing is completely my own (icings are kinda my thing).

Eggnog Cupcakes
(recipe may be double)  

Ingredients
1 1/3 cups all-purpose flour
¼ tsp. baking soda
½ tsp. baking powder
½ tsp. salt
¼ tsp. ground nutmeg
1 cup eggnog
¼ cup vegetable oil
1 tbsp. apple cider vinegar
1 tsp. vanilla extract
1 cup sugar


Directions
Preheat oven to 350°.

Start by mixing together the eggnog, oil, vinegar, vanilla and sugar


In a separate bowl, combined the dry ingredients: flour, baking soda, baking powder, salt, and nutmeg

Add the dry ingredients to the wet in 2 increments making sure not to over mix.


Fill each cupcake liner until about ¾ full and bake for 24 minutes. (Don’t bake much longer even if a toothpick doesn’t come out completely dry. Any more baking and they will come out spongy.)


Eggnog Cream Cheese Frosting
(makes enough for 2 dozen cupcakes)

Ingredients
1 stick unsalted butter, room temperature
I package of cream cheese, room temperature 
3 ½ cups confectioners’ sugar
pinch of salt
¼ cup eggnog
¼ teaspoon ground nutmeg

Cream together the unsalted butter, eggnog and cream cheese. Then add the confectioners’ sugar, salt and nutmeg.


Thursday, January 5, 2012

Fontina and Mascarpone Baked Pasta


 On Thursday nights my mom and I like to cook because it's usually just the two of us. I really look forward to these nights because I get my mom all to myself and I get a chance to try out a new dinner/savory recipe.  Its also fun to share the kitchen with her because usually I am all alone in there and my mom is really the person who taught me to cook and bake in the first place.

I wanted to make something healthy but I just couldn't resist this recipe. Its been in my foodgawker favorites for ages and we already had most of the ingredients left over from my dads pizza parties. Regardless of the heath factor, it was so delicious and made an amazing leftover too. I definitely suggest giving this recipe a try. 

(and the pictures definitely don't do it justice either....its hard taking pictures at night - and in my moms kitchen. she's really into the dim, intimate vibe but it doesn't really work out when it comes to food photography)


Fontina and Mascarpone Baked Pasta
Ingredients 
1 pound uncooked penne
1/4 cup all-purpose flour (I used cake flour because it was all we had – works just as well)
2 ½ cups whole milk
2 cups shredded fontina cheese
1/4 cup mascarpone cheese
1 teaspoon salt
1/4 teaspoon black pepper
1/3 cup panko breadcrumbs
1 tablespoon unsalted butter
1 clove of garlic, finely chopped

In a large pot, cook pasta according to the package or until you think it’s cooked….I personally had to cook it for at least 6 minutes more than the box said but that’s just me.

In a large pan over medium heat, combine the milk and flour. Stir continuously until it has reached your desired thickness, about 5 minutes. Turn the heat to simmer and mix in the cheeses, salt and pepper.


Pour half of the mixture and half of your pasta into a greased pasta-baking-dish. Mix together. Then add the rest of your pasta and cheese mixture and mix again. > I thought this was easier than dirtying another pot


Using the same skillet used to make the sauce, melt the butter and then mix in the garlic and breadcrumbs. Lightly toast it and then sprinkle it on top of the pasta.

Bake for 25 minutes at 250°

 It was so good and we were so hungry that I forgot to take pictures of it in a bowl...opps! if it helps it looks a lot like baked mac and cheese....

Wednesday, January 4, 2012

Chocolate Cashew Caramels with Fleur de Sel


 My goal over the holidays was to try recipes that I could never attempt while at school. I probably printed out about 20 recipes and only got around to about 6 of them. Unfortunately and fortunately I worked a TON over break so I didn't have as much free time that I had initially hoped to play around in the kitchen. I didn't even have time to test out the ice cream maker I got for christmas (sooo excited about that though. anticipate a million ice cream and gelato posts over the summer)

So one of the recipes I was dying to attempt was homemade caramel. Its tricky and everyone I spoke to about it said that they failed several times before they got it right. Of course that made me even more eager to give it a try. I think my caramel came out really well and the cashew caramels were a hit on christmas day. The caramel texture actually changed though when the cashews were added for some reason. Everyone said they like it better but it didn't exactly have that sticky caramel texture that I was looking for (which I actually had achieved perfectly before the cashews were mixed in - I guess some scientific kitchen chemistry stuff was going on that I haven't really figured out yet). Everyone was asking me for the recipe and how I made them though so whatever happened I guess worked out even better than I had hoped!