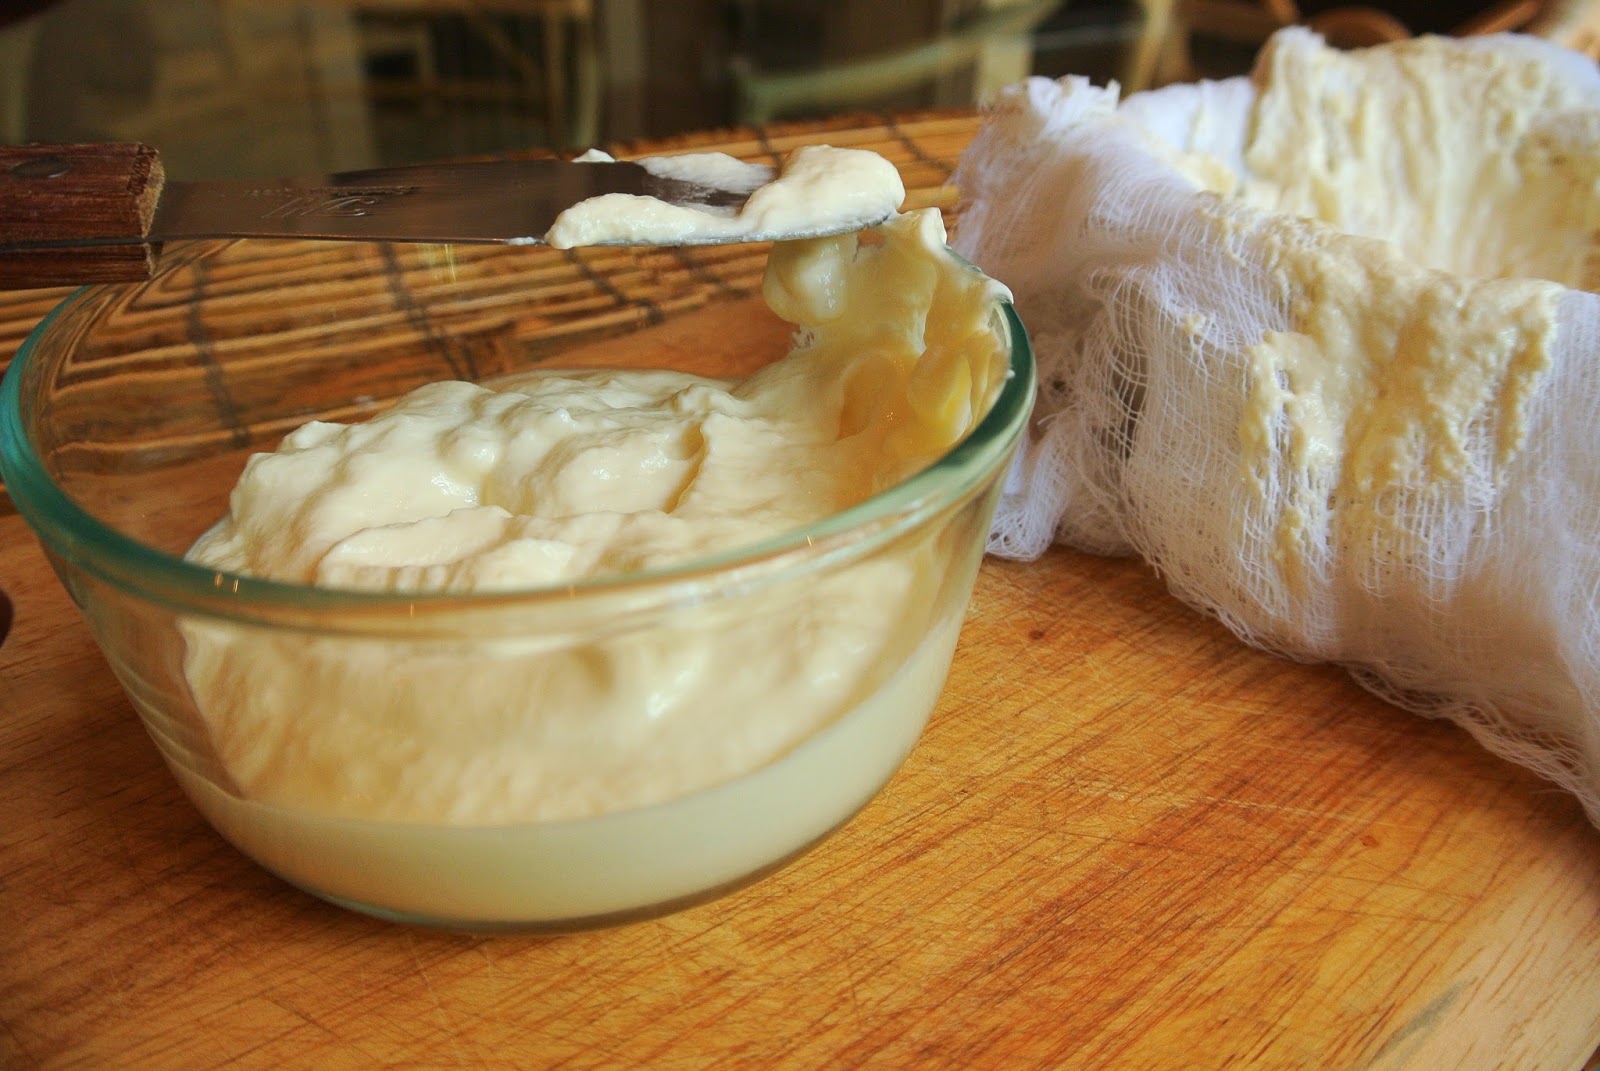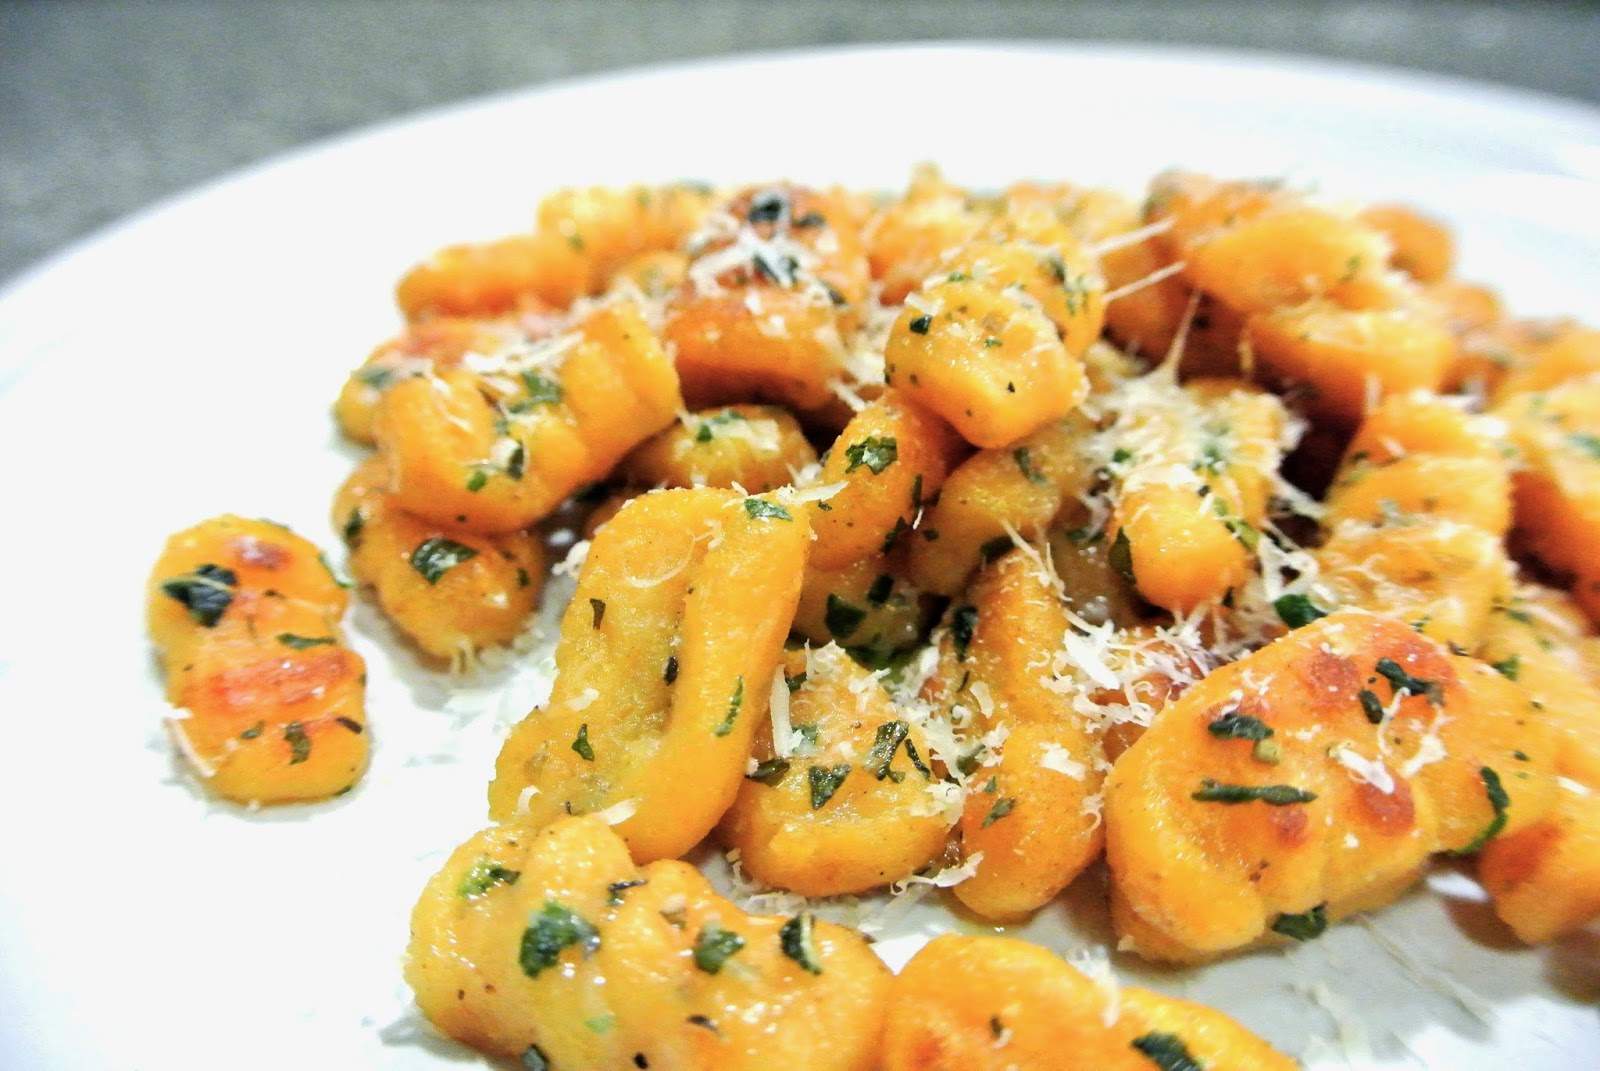
So basically my sister, Melanie, and I are getting a bit obsessed with making gnocchi and I don't really know why. Yes, its delicious, but its insanely time consuming. Maybe its also because most of the ingredients are already available in your refrigerator or cabinet (other than maybe a potato/sweet potato or ricotta - but if you have milk and lemon juice you can make that too!) The first time I made it I didn't even have ricotta. I had cream cheese. So I made it with that. And it was so good! For my second attempt I wanted to keep things a bit more traditional to see if it made a big difference and I guess it did and it didn't. Both were honestly so good I would remake either! My next attempt will be with sour cream or something. I really like the idea of being able to use what you already have, and I feel like those can be interchangeable. I definitely need to practice more though to find out.
Both times I made gnocchi though, I had a lot of extra time to spare and was really hungry too early in the day to start eating. I needed something to do with my hands before I started snacking up the waz. This is was the perfect solution. Most of the time when I'm cooking I lick my fingers, snack on the ingredients or frequently taste what i'm making, but that doesn't work with dough. (Unless you have snacks on the side...) So turn on Keeping Up with the Kardashians and get it work. It's worth it I promise, and so incredibly satisfying. You're ultimately making your own pasta. Who doesn't want to brag about that, right?
Gnocchi Ingredients
1 cup all purpose
1/2 cup cake flour
2 sweet potatoes
1 cup ricotta cheese
1 1/2 tablespoons of honey
1 egg
salt and pepper to taste
(additional flour may be needed during the shaping process)
-or-
1 cup flour
1 tablespoon honey
1 sweet potato
1/2 teaspoon salt
dash of pepper
egg
2 tablespoons cream cheese
**olive oil for boiling water
Browned Butter Glaze
3 tablespoons butter
dash of italian seasoning
1/2 teaspoon oregano
teaspoon chopped basil
truffle salt (if you have it - I'm obsessed with the stuff so naturally I try and put it on everything)
pepper to taste
freshly grated parmesan
Directions:
(I used microwave sweet potatoes because it is so much easier than baking and takes a fraction of the time)
In a medium sized bowl, mash up the cooked sweet potatoes. Then add the rest of the wet ingredients and mix well. Add the flour and stir gently until the dough forms a soft ball.
On a floured work surface, break off small pieces of the dough and roll it into snakes like you used to do with play dough. (this may required additional flour because it sticks easily to the counter). With a knife, cut the dough snake into small bite sized pieces about a half an inch. (although this depends on the thickness of your dough snake - use your best judgement and just try and make all of the pieces roughly the same size)
Using your finger, roll each piece individually and the press it against the back of a fork or press the fork into the dough (either way works. I actually found pressing the fork into the dough was easier, even though I feel like thats not how they do it on TV etc.)
Gently toss the shaped gnocchi in flour and make sure not to stack them too high on top of one another because they tend to stick.
Boil water in a medium sized pot. Add about 3 tablespoons of olive oil to prevent sticking. Gently place some of the gnocchi into the water with a slotted spoon. The gnocchi will float to the top when it is ready. Scoop them out with a slotted spoon and place them in a bowl or on a plate to the side. Continue to do this until all the gnocchi has been cooked. Don't try and do too much at once to prevent them from sticking to one another. You also wanted to guarantee that they all cook evenly.
Heat the butter over medium high until golden brown (this happens quickly so be careful) Add the cooked gnocchi along with the other ingredients and let sit so it can get a nice crispy edge for several minutes. Add some freshly grated parmesan and serve immediately.