Showing posts with label Holidays. Show all posts

Sunday, January 8, 2012

Eggnog Cupcakes with Eggnog Cream Cheese Frosting


I don't like eggnog. At all. It's just not something my family ever got into. I think I could drink an eggnog latte but otherwise the real thing is just way too thick for my taste. I guess we were always the boring hot chocolate kind of people because hot apple cider wasn't our thing either. For some reason though, I just couldn't pass up the idea of eggnog cupcakes. It just sounded so good to me. With cream cheese frosting? Well all of my cupcakes basically have cream cheese involved somehow, but it seemed like it would pair perfectly with the eggnog by toning down the usually overwhelming eggy taste.

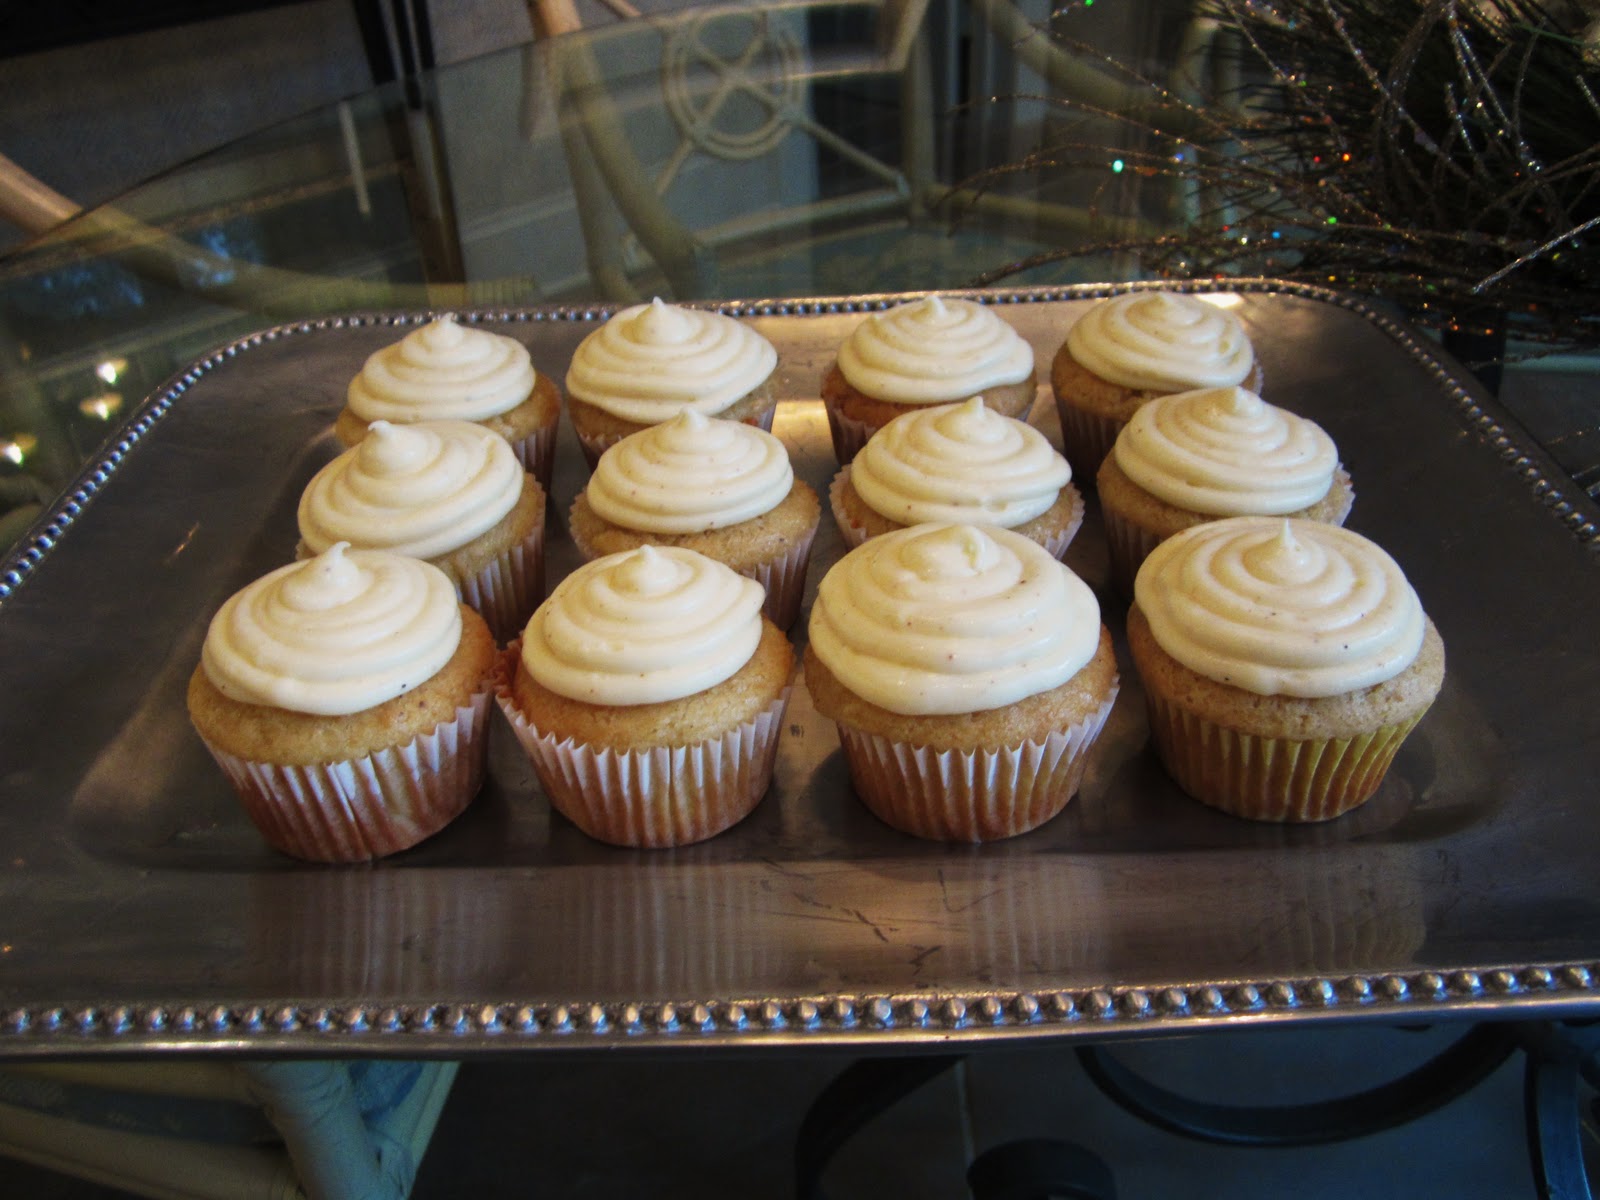
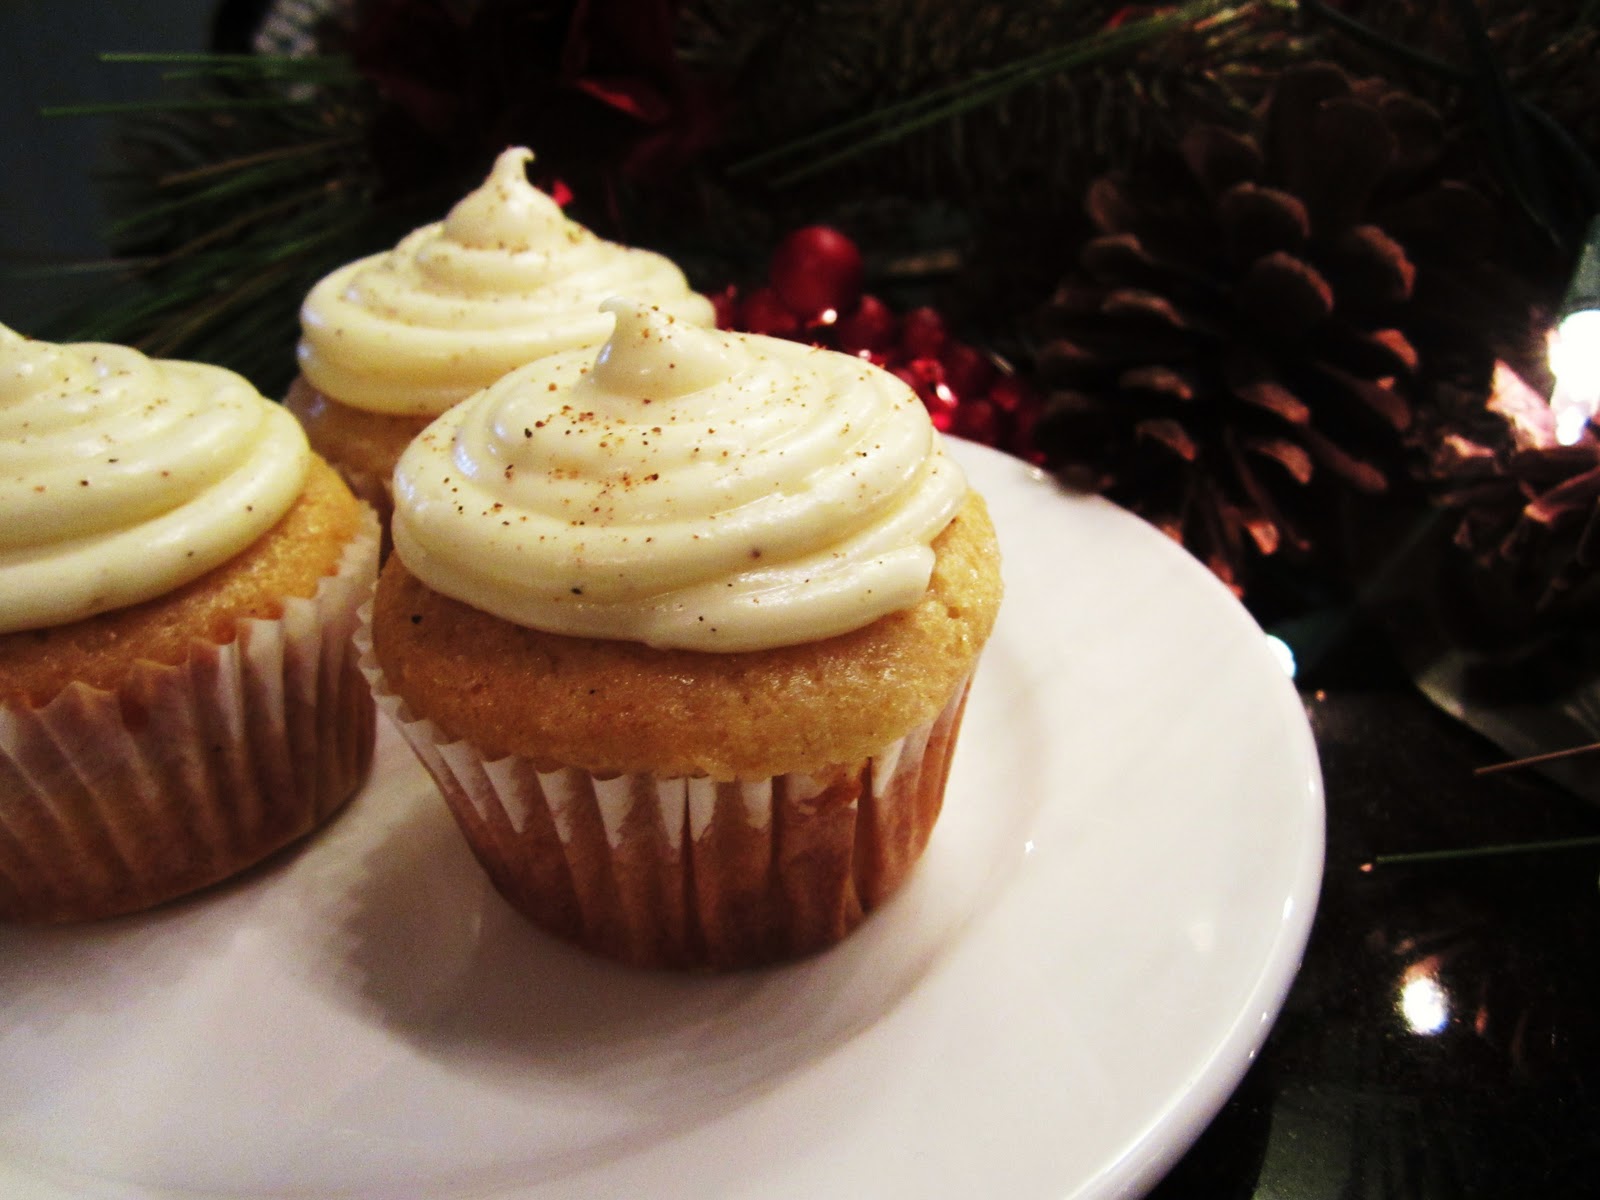
I did a lot of reasearch and I found the perfect recipe on one of my favorite food blogs, Annie's Eats. The cupcakes were amaazinngg. The texture was a little different than the average cupcake, probably because the recipe called for vegetable oil instead of butter, but they were so moist and delicious. They were slightly spongier than the normal cakey cake but not in a bad way. I'm considering making these every year now because they were honestly that good. I also invented my own frosting recipe to go with her cupcakes and not to toot my own horn or anything, but that was pretty killer as well. While eggnog is still in stores, I definitely suggest giving these a try.


Eggnog Cupcakes with Eggnog Cream Cheese Frosting 

The cupcake recipe is taken from a blog called Annie’s Eats (no adaptions or alterations. I just didn’t add the rum). The cream cheese icing is completely my own (icings are kinda my thing).

Eggnog Cupcakes
(recipe may be double)  

Ingredients
1 1/3 cups all-purpose flour
¼ tsp. baking soda
½ tsp. baking powder
½ tsp. salt
¼ tsp. ground nutmeg
1 cup eggnog
¼ cup vegetable oil
1 tbsp. apple cider vinegar
1 tsp. vanilla extract
1 cup sugar


Directions
Preheat oven to 350°.

Start by mixing together the eggnog, oil, vinegar, vanilla and sugar


In a separate bowl, combined the dry ingredients: flour, baking soda, baking powder, salt, and nutmeg

Add the dry ingredients to the wet in 2 increments making sure not to over mix.


Fill each cupcake liner until about ¾ full and bake for 24 minutes. (Don’t bake much longer even if a toothpick doesn’t come out completely dry. Any more baking and they will come out spongy.)


Eggnog Cream Cheese Frosting
(makes enough for 2 dozen cupcakes)

Ingredients
1 stick unsalted butter, room temperature
I package of cream cheese, room temperature 
3 ½ cups confectioners’ sugar
pinch of salt
¼ cup eggnog
¼ teaspoon ground nutmeg

Cream together the unsalted butter, eggnog and cream cheese. Then add the confectioners’ sugar, salt and nutmeg.


Tuesday, December 13, 2011

Gingerbread Men


This past week my friend and sorority sister, Leah Cronshaw, asked me to bake gingerbread men cookies for an event hosted by a battered women’s shelter that she volunteers for in Burlington. It’s a pretty known fact that I absolutely love doing stuff like this, so of course I immediately said yes. I had never made gingerbread men before though, so I can’t pretend I wasn’t nervous.  It’s not like I was just baking these for my friends who will pretend to like them even if they were terrible. Each cookie was a dollar and the money raised would go straight to charity; so obviously I had to impress.

I did my research and found a recipe online that seemed promising. I was nervous about making enough though, so I ended up making 3 batches just in case. When a cookie recipe says “makes 2 and a half dozen” I usually don’t believe it. Cause how can you know, really? - Especially with cut-out cookies. I mean, how big is YOUR cookie cutter….Much to my surprise (and somewhat dismay considering my limited counter space), each batch made almost exactly 2 and a half dozen; meaning I made over 7 and a half dozen cookies….I counted 86.

According to Leah, the gingerbread men were a huge success! Unfortunately I wasn’t able to attend the event myself because I had my Management Information Systems AND my Economics final the next day – and there was no way I had time to take a break. Leah was able to take pictures of the event for me though so I could at least see my goods in action. And although it took me over 8 hours to make all of them (divided between 2 days, don’t worry), one regular batch would actually be pretty easy and would definitely be a crowd pleaser at any holiday party (or make a great gift!)


I used a recipe I found on allrecipes.com called Eileen's Spicy Gingerbread Cookies 


Ingredients
1/2 cup (1 stick) margarine
1/2 cup sugar
1/2 cup molasses
1 egg yolk
2 cups sifted all-purpose flour
1/2 teaspoon salt
1/2 teaspoon baking powder
1/2 teaspoon baking soda
1/2 teaspoon ground cinnamon
1 teaspoon ground cloves
1 teaspoon ginger
1/2 teaspoon ground nutmeg

Directions
In a bowl, cream together the margarine and sugar. (Since its margarine it won’t get quite as fluffy as butter – at least I don’t think it will….) Then fold in the molasses and egg yolk with a spatula.

In a separate bowl, combined the dry ingredients: flour, salt, baking powder, baking soda, cinnamon, ground cloves, ginger, and nutmeg. Sift the flour mixture over the wet ingredients. Begin with the spatula and finish with the blender (I do this to prevent the flour from forming a cloud and getting everywhere)

Cover and chill in either the freezer or the fridge for at least an hour. I put it in the freezer, but the fridge would do just as well.

Form the dough into a ball and turn out onto a heavily floured work surface. The counter must be well covered in flour because this dough is very sticky and it is very difficult to keep the cut-out gingerbread shape if you have to scrape the dough off of the counter. In the reviews, some people added more flour during the mixing process, but I found that after reforming the dough into a ball again and again as I continued to roll it out, the cookie dough would accumulate enough flour from the counter to the point where it was unnecessary.


Preheat the oven to 350˚. Place the cut-out shapes onto a silpat or tinfoil and freeze for about 15 minutes. This helps the cookies retain their shape during the baking process. Also make sure that no dramatic flecks of flour are on the top of your cut-out cookies before baking because it will leave a somewhat permanent white mark on your cookies after they are baked. Just brush it off with your hands or wet it slightly with a touch of water to get them off.


Bake for 8 minutes.

If you have little freezer space like me, form an assembly line in your cookie baking process.
1.       Cut out cookies
2.       Place them on silpat or tin foil
3.       Freeze
4.       Bake
5.       Remove from oven and let sit (separate the tinfoil or silpat from the hot cookie sheet so they do not continue to bake and they both can cool down more quickly – the cooler the tinfoil/silpat the better because you don’t want you gingerbread-dough-cut-outs to spread immediately after you cut them out)
6.       Cool on cookie rack
7.       Transfer to stacked/ cooled cookie location