Showing posts with label Royal Icing. Show all posts

Monday, July 7, 2014

Sigma Chi Sugar Cookies


So like pretty much everyone post i've written recently, I actually made these a while ago and just haven't had the time to post about them until now. My friend and sorority sister, Victoria, is the sweetheart for Sig Chi this year, and she asked me to bake some cookies for her to give to the boys. That would make this the first time I have ever been commissioned to bake something. Obviously, it's a super big deal to me and I was totally honored to do it for her. She also happens to be an incredible sweetheart - she was just doing this to be nice and to welcome the new pledge class. Do they deserve it? eh....(which is probably why I'm no ones sweetheart let's be real...) They are a lovely group of lads though and I can't wait to go on Spring Break with Vic n 'dem in a few days. 

For the recipe click here


I was also so tired and hungover on a Sunday morning when I decorated these. I have ZERO clue how I did it....


Wednesday, January 1, 2014

Christmas Sugar Cookies


Since I didn't work this year for Christmas break, apart from babysitting, I had a lot of free time on my hands. So, of course, I decided to spend as many hours as possible baking and decorating cookies. I am so annoyed with myself though because I bought new food coloring, plastic piping bags and tips and cookie cutters when I had some in the closet at my moms house the entire time. It's ok, because I would have had to buy red anyway (but still annoying regardless) Thats a lot of $dough$ even with the killer Michaels discounts. And I also have all of my goods at Elon, so that was annoying too. But I actually use them there, so at least they weren't just sitting in another state for no reason.

Decorating these things is addicting. I'm ready for round 3….


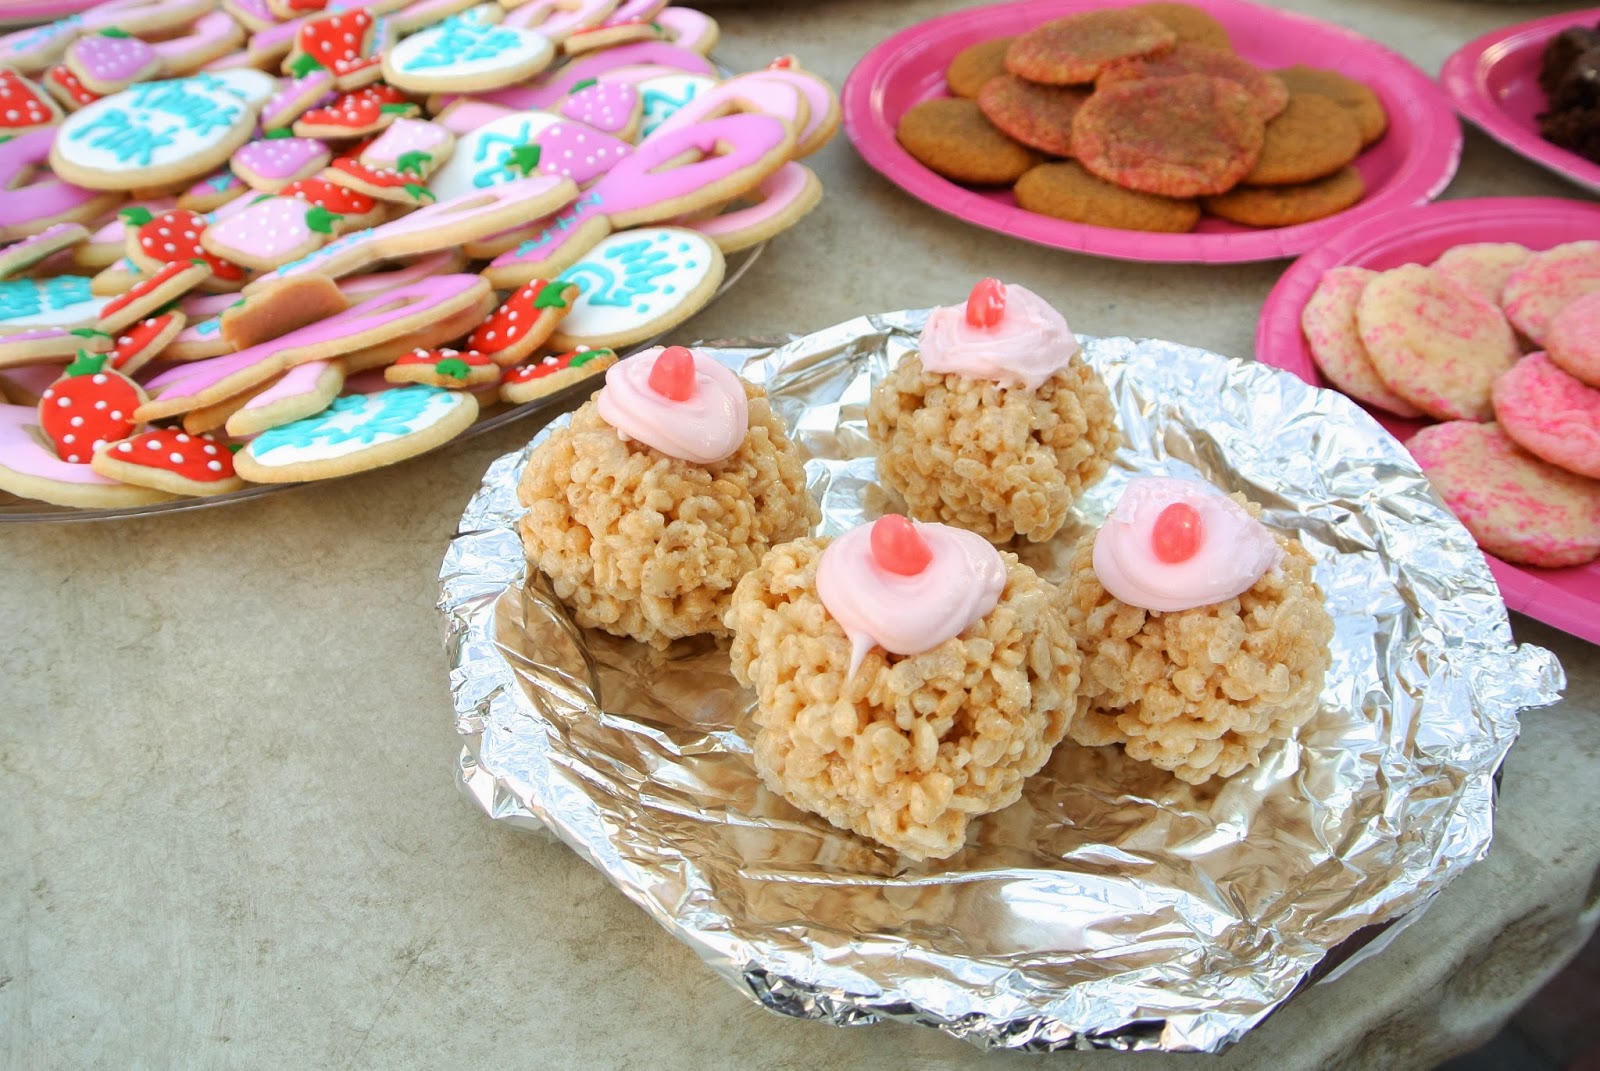
Christmas Sugar Cookies 
I got the recipe here and followed the advice from the comments

Ingredients
1 ½ cups butter, room temperature
3 cups of sugar
4 eggs
5 cups all purpose flour
2 teaspoons baking powder
1 teaspoon salt
2 tsps vanilla

In a medium sized bowl, mix together the flour, baking powder and salt.
In a large together, cream together the butter and sugar until light and fluffy. Then add the eggs and vanilla.

In 3 increments, add the flour mixture to the large bowl, using a spatula (not the mixer).

Either cover the bowl with plastic wrap and refrigerate for at least 2 hours, or over night. You can also separate the dough into two balls or disks and wrap in plastic wrap. (It was hard digging out the hard dough from the bowl, so I prefer doing it this way and breaking off pieces at a time)

Preheat the oven to 400 degrees. Lightly flour your work space and rolling pin and roll out the dough to about ¼ to ½ inch thickness. Cut out shapes with a cookie cutter and place on a silpat or tin foil (I rotate between the two because I only have one silpat)

If your oven maintains a consistent temperature, bake for 6 to 8 minutes – making sure the edges don’t get too brown. A faint brown edge is ok, but maintaining a light tan color is preferable.  Cool completely.

For my decorating icing I use this recipe from Sweetopia, but I add a teaspoon or so of almond extract to tone down the strong flavor of the confectioners sugar. 


The bite sized ones might be my favorite, although they are a little too easy to eat...


Monday, November 11, 2013

Decorated Sugar Cookies for Breast Cancer Education and Awareness


October is national Breast Cancer Awareness and Education month, so my ZTA chapter, Eta Zeta, does a bunch of profit shares and hosts a big Think Pink event every year. At the event we have tables full of baked goods, we hand out ribbons and breast exam pamphlets, have a breast cancer survivor tell their story (amazing), and have games and live musical performances by the incredible acapella groups at Elon, Sweet Signatures and Rip Chord. I love events like these because they are the perfect opportunity for me to practice my sugar cookie decorating skills. It takes a ton of work, so I need a really good excuse to take over and ultimately destroy the kitchen, and pretty much any surface area in our living room for 2 days.

Breaking the process up into 2 days (if not 3) is the best and least exhausting way to go about making sugar cookies like these (especially when you have other things to do, like, I don't know, maybe go to CLASS for example...). Day 1 is for preparing, refrigerating, cutting out and baking the cookies. It's nice to have a system worked out with cutting out, baking and cooling, because I think it is best to only bake one sheet at a time. (In an ideal situation - preparing the dough can also be day 1, baking on day 2, decorating on day 3 - with day 4 being the day of the event) Baking and decorating also produce their own unique messes, so it's good to completely clean up, go to sleep and start fresh the next day. This also guarantees that the cookies will be completely cool and ready for decorating. The cookies also get softer overnight if you accidentally over bake some. My oven is complete crap, so every batch baked for a different amount of time. I had to watch them like a hawk - while simultaneously rolling and cutting out the next batch).

This time I think I did a really good job cleaning up as I go…Not perfect by any means, but it does make the process go significantly smoother. Most recipes also say the ENTIRE process of baking, cooling and decorating takes 5 hours. like WHAT? hoowwwww. like actually HOW? Maybe I just need more practice, but that is just absurd. There is NO WAY - no way you can decorate that many cookies in that amount of time.

Rolled Sugar Cookies 
I got the recipe here and followed the advice from the comments

Ingredients
1 ½ cups butter, room temperature
3 cups of sugar
4 eggs
5 cups all purpose flour
2 teaspoons baking powder
1 teaspoon salt
2 tsps vanilla

In a medium sized bowl, mix together the flour, baking powder and salt.
In a large together, cream together the butter and sugar until light and fluffy. Then add the eggs and vanilla.

In 3 increments, add the flour mixture to the large bowl, using a spatula (not the mixer).

Either cover the bowl with plastic wrap and refrigerate for at least 2 hours, or over night. You can also separate the dough into two balls or disks and wrap in plastic wrap. (It was hard digging out the hard dough from the bowl, so I prefer doing it this way and breaking off pieces at a time)

Preheat the oven to 400 degrees. Lightly flour your work space and rolling pin and roll out the dough to about ¼ to ½ inch thickness. Cut out shapes with a cookie cutter and place on a silpat or tin foil (I rotate between the two because I only have one silpat)


If your oven maintains a consistent temperature, bake for 6 to 8 minutes – making sure the edges don’t get too brown. A faint brown edge is ok, but maintaining a light tan color is preferable.  Cool completely.

For my decorating icing I use this recipe from Sweetopia, but I add a teaspoon or so of almond extract to tone down the strong flavor of the confectioners sugar. Also, in order to write words on the cookies without too much spreading (everything in turqoise), I put some icing on research and added an additional teaspoon of meringue powder. These were very cute, but the mouth feel wasn't the best because it was harder - so I wouldn't go overboard.


These little strawberries were my favorite! Strawberries are one of zeta's national symbols, so I thought it would be a cute way to tie together Breast Cancer Awareness and our sorority (well fraternity actually…). At first I was afraid not making them all red was a dumb decision, but I'm so glad I didn't. They were so small and popable, and surprisingly weren't hard to decorate either considering there were so many of them. I'll definitely be making these again!


Think Pink
me (and very little sleep) and MY LITTLE, Jessica (well one of my littles….) 
Everyone in our chapter brought one of their bras as decoration - SO CLEVER
Laura and her bedazzled black bra (costume purposes only, of course) 
The all girls acapella group at Elon, Sweet Signatures. They were amazing!
The cookies in action
I just loved these too much - Rice Krispy Boobs!


Tuesday, December 13, 2011

Gingerbread Men


This past week my friend and sorority sister, Leah Cronshaw, asked me to bake gingerbread men cookies for an event hosted by a battered women’s shelter that she volunteers for in Burlington. It’s a pretty known fact that I absolutely love doing stuff like this, so of course I immediately said yes. I had never made gingerbread men before though, so I can’t pretend I wasn’t nervous.  It’s not like I was just baking these for my friends who will pretend to like them even if they were terrible. Each cookie was a dollar and the money raised would go straight to charity; so obviously I had to impress.

I did my research and found a recipe online that seemed promising. I was nervous about making enough though, so I ended up making 3 batches just in case. When a cookie recipe says “makes 2 and a half dozen” I usually don’t believe it. Cause how can you know, really? - Especially with cut-out cookies. I mean, how big is YOUR cookie cutter….Much to my surprise (and somewhat dismay considering my limited counter space), each batch made almost exactly 2 and a half dozen; meaning I made over 7 and a half dozen cookies….I counted 86.

According to Leah, the gingerbread men were a huge success! Unfortunately I wasn’t able to attend the event myself because I had my Management Information Systems AND my Economics final the next day – and there was no way I had time to take a break. Leah was able to take pictures of the event for me though so I could at least see my goods in action. And although it took me over 8 hours to make all of them (divided between 2 days, don’t worry), one regular batch would actually be pretty easy and would definitely be a crowd pleaser at any holiday party (or make a great gift!)


I used a recipe I found on allrecipes.com called Eileen's Spicy Gingerbread Cookies 


Ingredients
1/2 cup (1 stick) margarine
1/2 cup sugar
1/2 cup molasses
1 egg yolk
2 cups sifted all-purpose flour
1/2 teaspoon salt
1/2 teaspoon baking powder
1/2 teaspoon baking soda
1/2 teaspoon ground cinnamon
1 teaspoon ground cloves
1 teaspoon ginger
1/2 teaspoon ground nutmeg

Directions
In a bowl, cream together the margarine and sugar. (Since its margarine it won’t get quite as fluffy as butter – at least I don’t think it will….) Then fold in the molasses and egg yolk with a spatula.

In a separate bowl, combined the dry ingredients: flour, salt, baking powder, baking soda, cinnamon, ground cloves, ginger, and nutmeg. Sift the flour mixture over the wet ingredients. Begin with the spatula and finish with the blender (I do this to prevent the flour from forming a cloud and getting everywhere)

Cover and chill in either the freezer or the fridge for at least an hour. I put it in the freezer, but the fridge would do just as well.

Form the dough into a ball and turn out onto a heavily floured work surface. The counter must be well covered in flour because this dough is very sticky and it is very difficult to keep the cut-out gingerbread shape if you have to scrape the dough off of the counter. In the reviews, some people added more flour during the mixing process, but I found that after reforming the dough into a ball again and again as I continued to roll it out, the cookie dough would accumulate enough flour from the counter to the point where it was unnecessary.


Preheat the oven to 350˚. Place the cut-out shapes onto a silpat or tinfoil and freeze for about 15 minutes. This helps the cookies retain their shape during the baking process. Also make sure that no dramatic flecks of flour are on the top of your cut-out cookies before baking because it will leave a somewhat permanent white mark on your cookies after they are baked. Just brush it off with your hands or wet it slightly with a touch of water to get them off.


Bake for 8 minutes.

If you have little freezer space like me, form an assembly line in your cookie baking process.
1.       Cut out cookies
2.       Place them on silpat or tin foil
3.       Freeze
4.       Bake
5.       Remove from oven and let sit (separate the tinfoil or silpat from the hot cookie sheet so they do not continue to bake and they both can cool down more quickly – the cooler the tinfoil/silpat the better because you don’t want you gingerbread-dough-cut-outs to spread immediately after you cut them out)
6.       Cool on cookie rack
7.       Transfer to stacked/ cooled cookie location


Wednesday, October 12, 2011

Houses of Hope Cookies

ZTA and Little Pink Houses of Hope 


This Sunday, ZTA hosted our first ever Little Pink Houses of Hop tailgate to raise money for Breast Cancer Education and Awareness. I decided to bake my favorite sugar cookies in the shape of little pink houses! Clever right? (not really) I couldn't for the life of me find a house shaped cookie cutter though so I had to free hand every single one (which took for ev er). The good thing about not having one boring shaped cookie cutter though is that I was able to make all kinds of different houses like shotguns, mansions, average-joes, apartments, houses with shingles, houses without singles, door on the side houses, door in the middle houses, trailers (that one was probably my fav) yadda yadda.

I just forgot that every other time I made these cookies in the past it was over a major holiday…when I didn't have any school or work...and not to mention a plethora of counter space. YIKES! But as stressful as they were, I still had fun making them. And when you see the finished products assembled on a plate, all that hard work becomes worthwhile - and the most important part, it was for a good cause!