I'm back! It's actually been almost a year since I have posted on this blog. How terrible is that! After being in Paris for the fall semester and then living in a dump of an apartment in the Spring, cooking and blogging were just not an option for me. I had serious withdrawal. Needless to say, when I finally got back into the kitchen, I went a little overboard. Within the past few days of being home, I have made cookies, homemade naan, blackberry flatbread things (this post), Louisiana drum fish with corn and pea orzo, blackberry crumb bars, homemade ricotta, two different kinds of ice cream and baked a cake for my grandmothers birthday. AND I have only been to the grocery store TWICE. Yeah, I know! I can't believe it either. Actually, I only went twice because I was cooking/baking at two different houses. I'm on a roll. Although, it could also be because I have basically stock piled so many miscellaneous ingredients over time that I really don't need to go as often. (Although, we are almost out of flour and sugar, which are ingredients I always feel weird buying. - because it feels like I already have them, even when I don't. you know what I mean? Like salt...that's definitely a weird one)
 Basically this post is more about the Naan than what I decided to put on it later. Anything with goat cheese and arugula is my jam, and I wanted to unify the meal by having blackberries in the dessert and appetizer. Well also, because I love blackberries and I think they are totally under-appreciated...
Making your own naan is FUN and so easy to do! It doesn't involve any yeast, which makes it sort of fool proof-ish if you ask me. Of course, you can over-knead, make it too dry blah blah blah, but that the end of the day, it was never supposed to be perfect anyway! I know for a fact I didn't make it perfectly. I followed a recipe until it just wasn't working out and did my own thing. And guess what, it was so good anyway! So try it. Mess up. Have fun. Who cares! I hadn't really cooked/baked in a year, and I needed to try something that I wasn't afraid would fail, and this was the perfect thing (even though I felt pretty fancy after they were finished...) AND, better yet, I bet you have the ingredients already, too.
Homemade Naan
Recipe adapted from this one here from a blog called Singapore Shiok
Ingredients
3 cups all purpose flour
2 tsp baking powder
1/2 teaspoon baking soda
1 teaspoon salt
1 1/2 teaspoons of sugar
1/3 cup plain yogurt
2/3 cup water
3 tablespoons skim milk
2 tablespoons of olive oil
butter *optional
Combine all of the dry ingredients in a large bowl. Create a well in the center of the mixed, dry ingredients and add the water and yogurt. Using a fork, begin stirring in the center of the well until the dry ingredients around the perimeter begin to fall in and are gradually incorporated. If the dough has not come together (*this is where my recipe differs. Hers said wet and sticky, but mine was totally dry) add a tablespoon of skim milk until the dough comes together. (I used 3, but differing climates many require more or less) If the dough is a little sticky, that is ok.
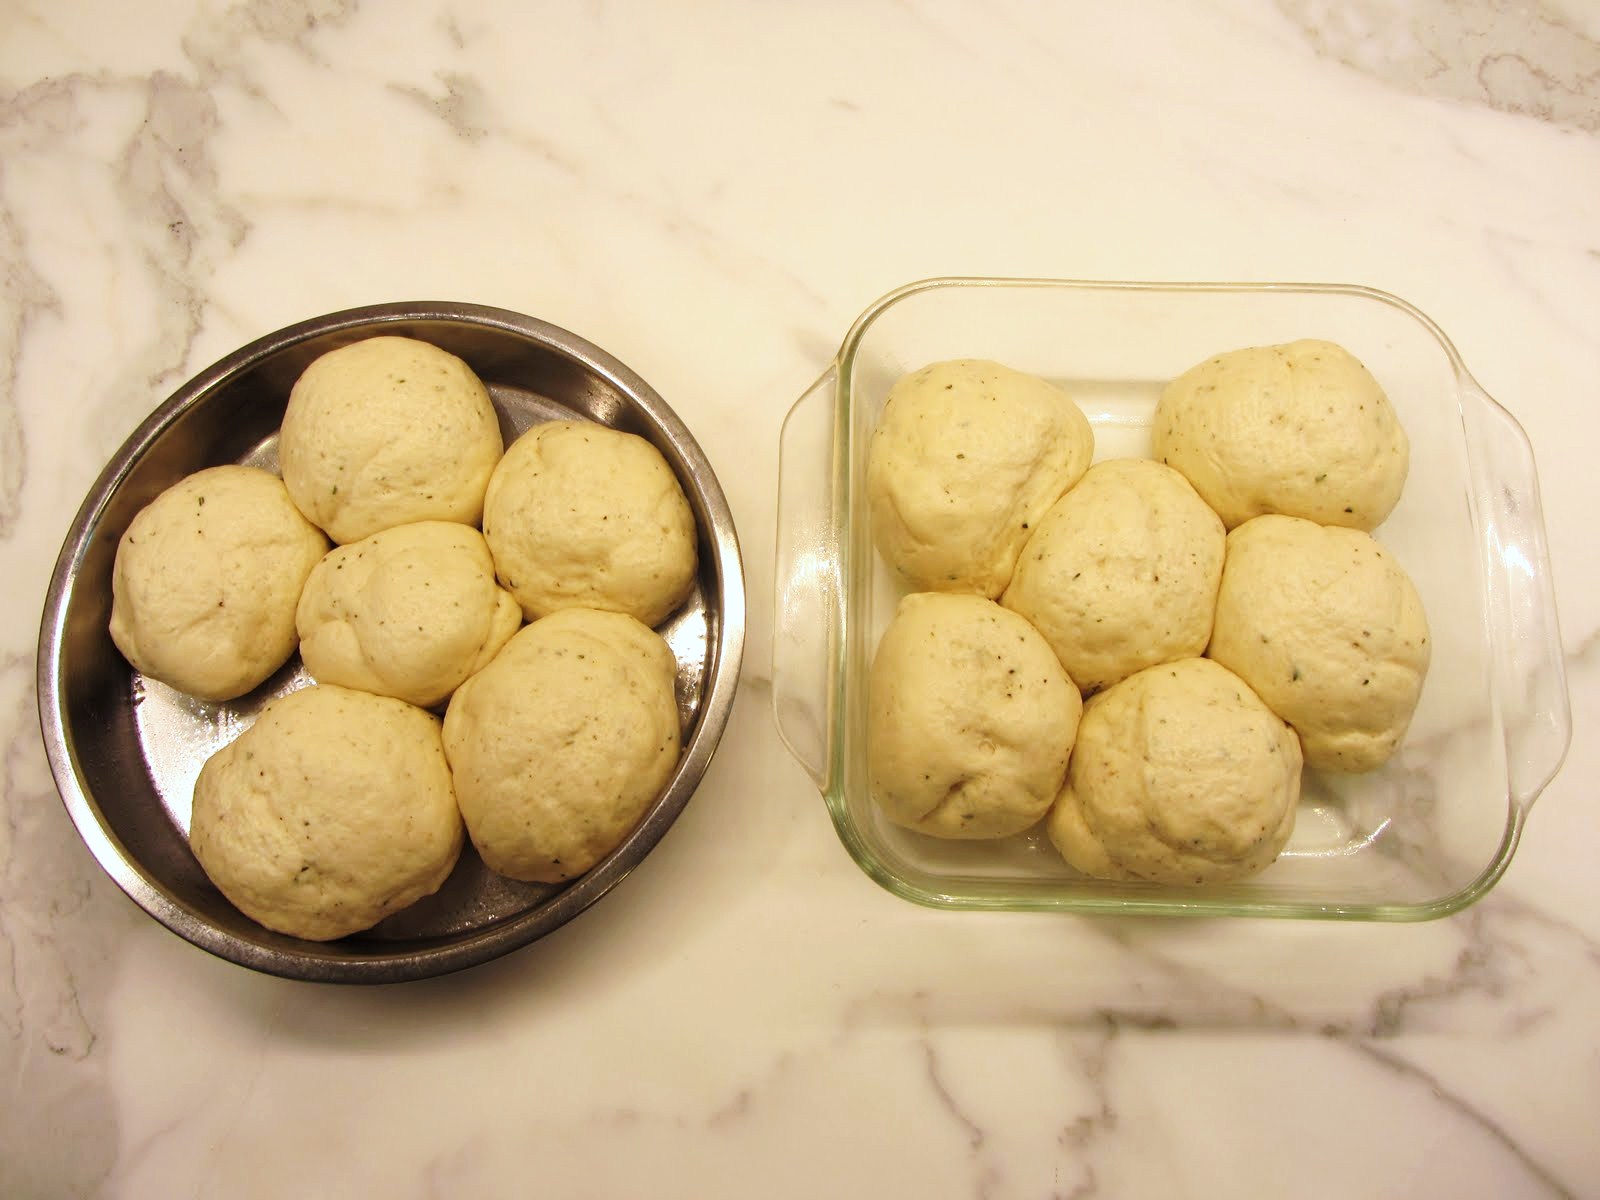
Then add the two tablespoons of olive oil and knead the dough with your hands in a folding pattern until it is incorporated. (this part feels totally weird. At first it will seem like the oil does not want to be mixed, in but it will) Then flatten the dough into a thick disk and cut it like pizza slices into 8 pieces. Roll and flatten the pieces into small disks and thoroughly coat with flour. It can be used immediately, but I waited about 30 minutes so the dough could relax and dry out a bit so it would be easier to roll out. - but don't refrigerate if you do this! Just leave it on the counter.
Roll out the first disk into a long oval shape. Make it as thick or think as you want. Once you make on or two, you can decide the thickness you prefer. At first I thought I wanted it thin for flatbread purposes, but the ticker pieces were best eaten plain with butter and onion or regular salt on top.
Heat a cast iron skillet (or heaven pan) until very hot, and add about a teaspoon of olive oil. Make sure the bottom of the pan is fully coated in oil, then add the dough to the pan. Similar to making a pancake, when there seem to be a lot of bubbles, flip it over. This will take about a minute. If it's not brown enough, you can always flip it back over! During that time you can roll out your next dough. They are delicious served fresh, but they also store well for a couple of days in a large ziploc bag.

 |
| Some of my bubbles were small, and some were large like the one below. Both are fine! |


After eating a bunch plain with butter by accident...as a taste test, you know...I set up my flat bread station with the blackberries, goat cheese, honey and arugula. Make sure to let the goat cheese sit out for a while though so it is easier to spread! I also started by slicing the blackberries, but then I realized I can get more in each bight if I break them apart in my hands and let their juices fall where they may. I drizzled honey in a zigzag motion and then baked in the oven at 350 for about 5-10 minutes on a cookie sheet. Add the arugula at the end not before! It gets wilted. I did it on one and not the other, and doing it after is definitely the way to go... I also sprinkled finishing salt on one of them. Don't do that either.
ALSO use cooking shears to cut them NOT a knife. It's so much easier and a lot cleaner too.


 |
| Arugula added before baking... |
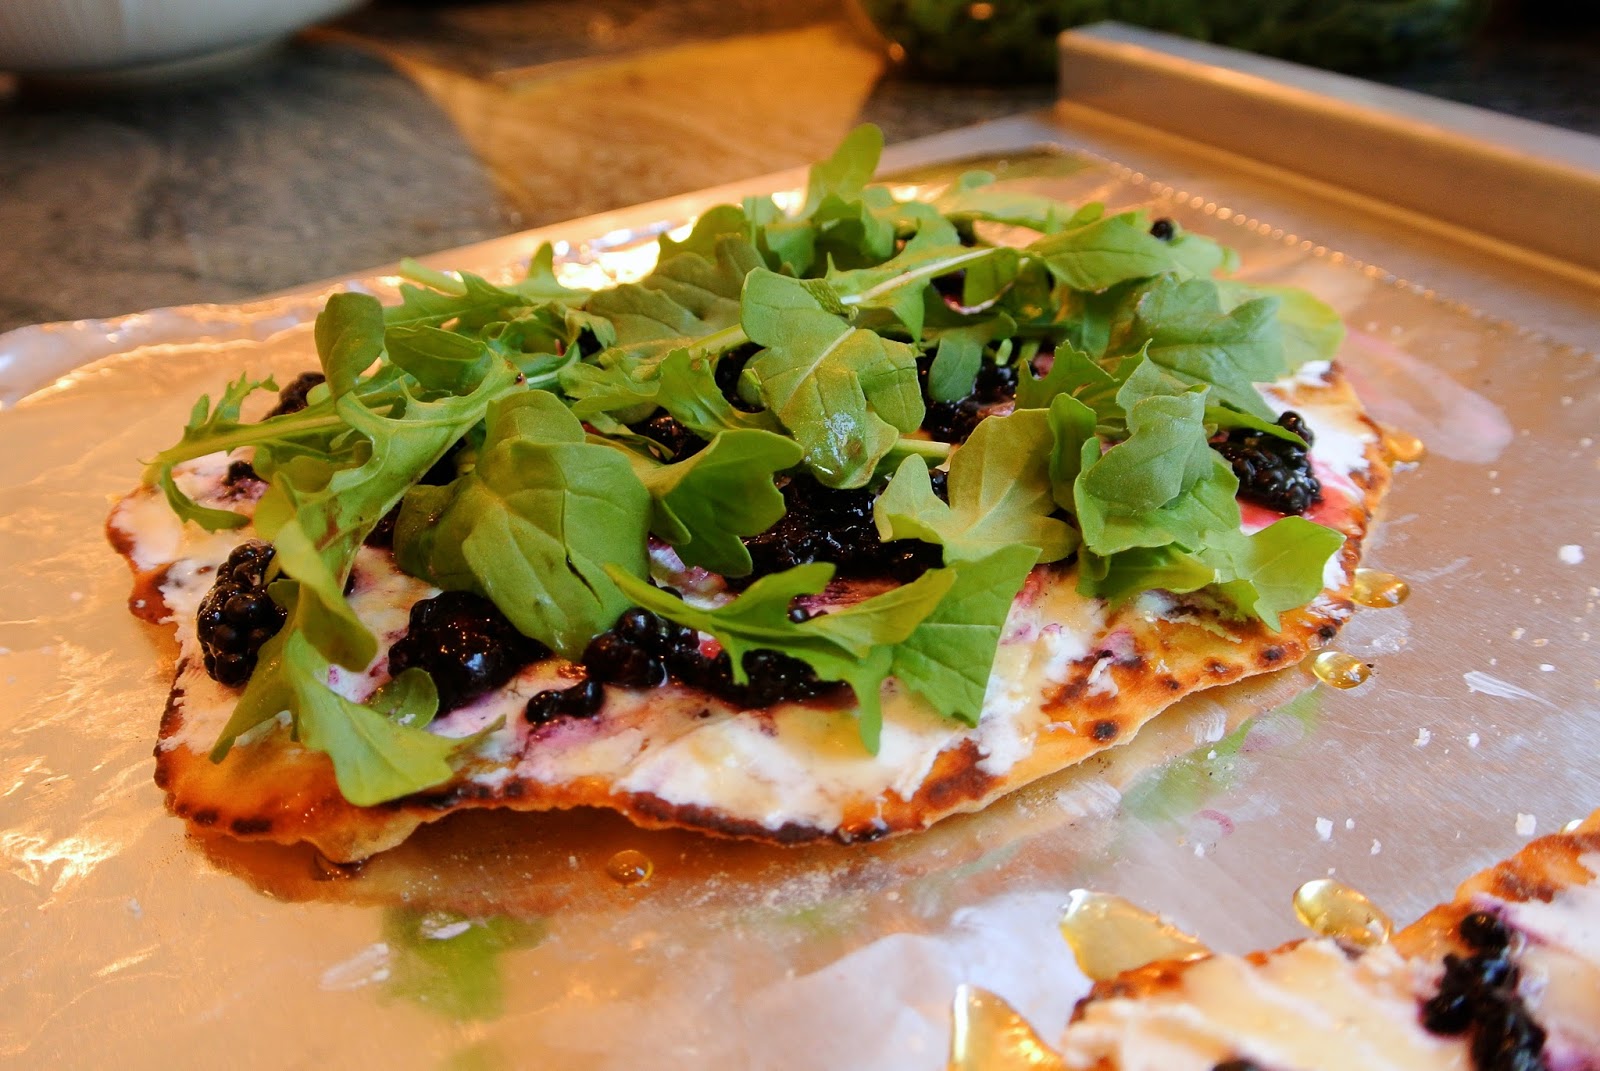 |
| Arugula added after baking (the better choice) |