 |
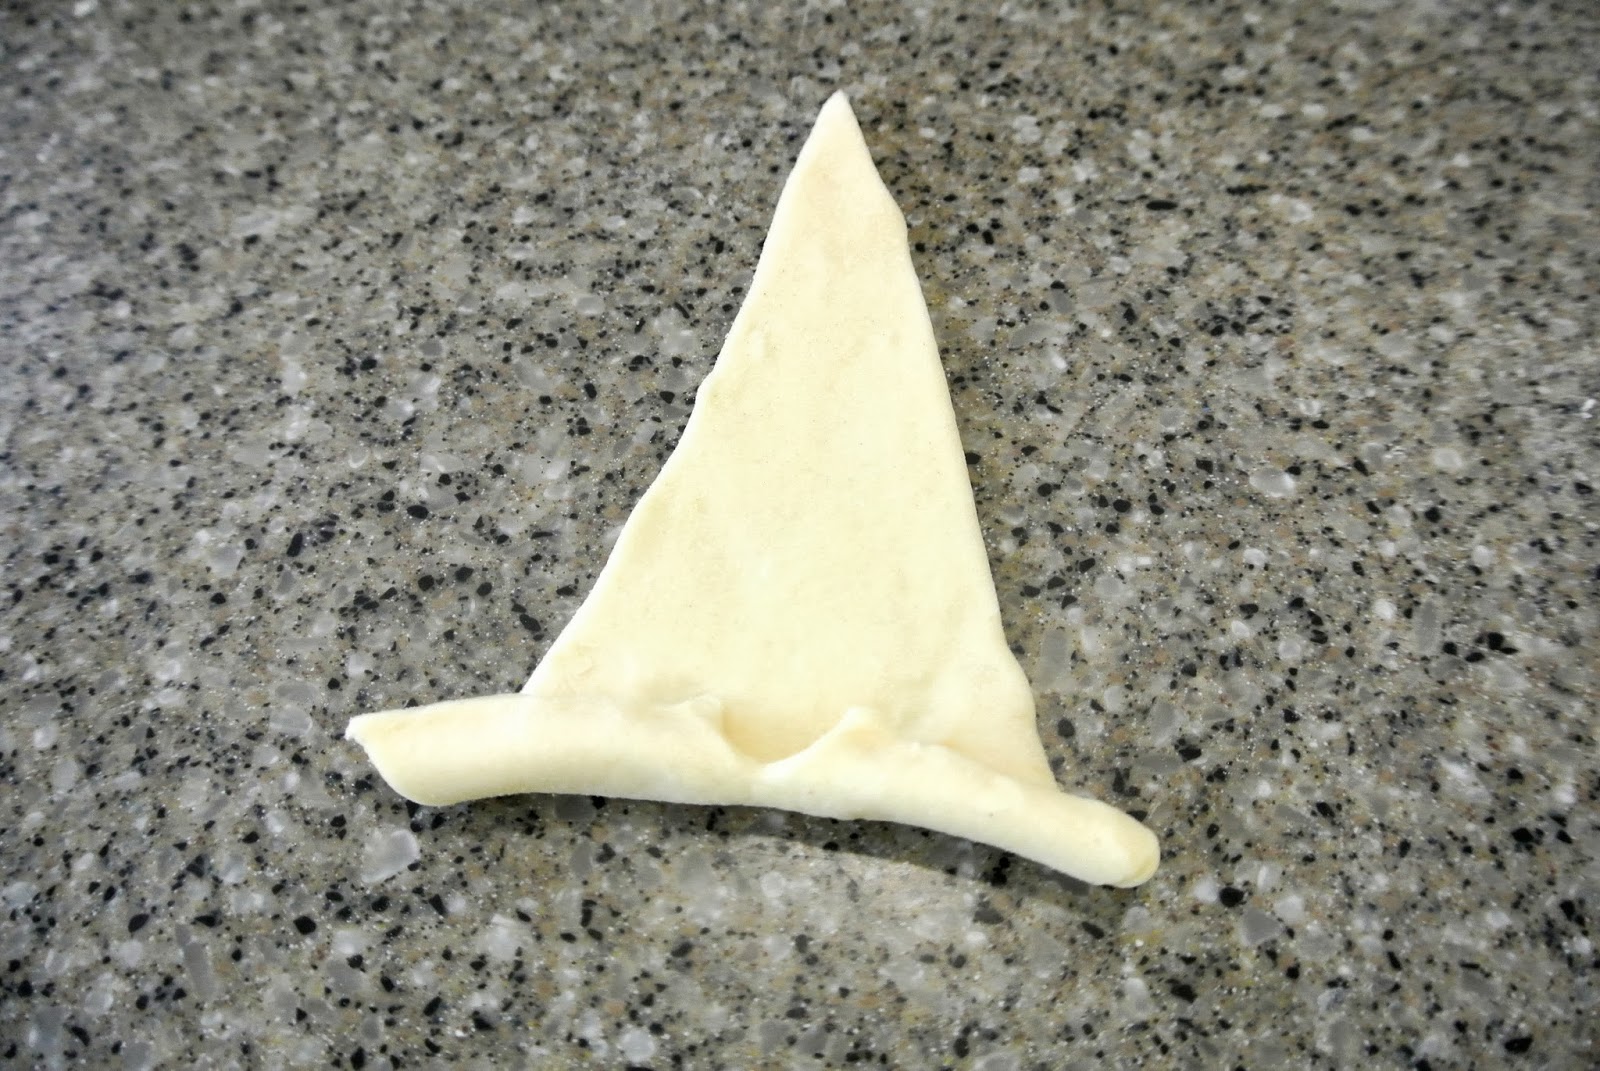
| This picture was taken after my first attempt on my iPhone. Using an iPhone pic was never my intension, but I didn't realize how much a dough would transform over a matter of days. Ideally I wish I had taken a picture the next day. THOSE bad boys were perfect! |
I did it! I finally made homemade croissants. I've made pastry dough a couple of times, which is very similar, but actually making croissants has been my goal since I got my first cookbook on my 13th Birthday (It was the Martha Stewart Baking Manual. I also got a Deuce McAllister jersey which is now signed. It was a great year) It is something I have avoided for years because I was so afraid of failure. But this year I made it my new years resolution. Especially since I am going to study classic french pastry right after I graduate, I really wanted to be able to say that I have already given it a try before going to class. That way I can learn what I was doing wrong. Or just be a step ahead of everyone in the class... I'm going to be so competitive. Like homegirls better watch out (and a homeboy or two if we get one...When I visited the school it was very heavy on the estrogen)
I made them mini though. Courtney and I had a joint tea party themed birthday pre game, so we thought smaller bite sized treats and tea sandwiches would be a better approach (and cuter and easier to eat). And bite sized things are the best anyway amiright.
I thought about giving step by step instructions - but that would take SO long and not to mention I really don't think I am qualified to do that anyway. Once I try it out a couple more times and really get a feel for it, then I will definitely give a step by step explanation of how to make them.
Couple things I learned though:
1. Definitely roll them up and let them "proof" in the fridge overnight. I did a batch right away, a batch the next day and a batch like 5 days later (I tend to push the limit on old dough...I mean shoot me I'm in college...)
2. First batch didn't have enough flavor. They were flakey, but the butter didn't have enough time to develop in the dough. They also began to unravel. The image above is from the first attempt. You can see how some of them lost a bit of their transitional shape.
3. waiting overnight was perfect. They had a much butterier taste and were perfectly flakey and brown. Letting them proof overnight also prevented them from unraveling.
For the step by step instructions I followed this recipe from a blog called Tracey's Culinary Adventures
Here are the pictures of my process:


 |
| kinda hoping for more dramatic layers here...it still came out super flaky when it was baked though! |


These are pictures of the croissants after the dough had been sitting in the fridge for about 5 days. You can see the ends are very brown because the butter was seeping out of the sides so they were basically baking in a puddle of butter the entire time. Of course not a bad thing, but it doesn't end in the same flaky croissant texture we love so much. You can also see how there are very distinct layers in the center when it is cut in half and its still moist on the inside again from the butter. Very interesting experiment. I love how different they turned out with each day of resting in the fridge.

also - OF COURSE I would be ready to take pictures on a perfectly lit day when the croissants are not even really croissants at this point. Lesson. Learned. I'm going to give this another try very very soon and I'll have an update. Hopefully with normal sized ones this time. I also need to get a yard stick. The smaller ones were just easier to manage with the normal ruler.

No comments:
Post a Comment