

Ingredients
3 Eggs whites
3/4 cup and 2 tablespoons of almond flour
1 cup confectioners sugar
1/4 cup and 2 tablespoons granulated sugar
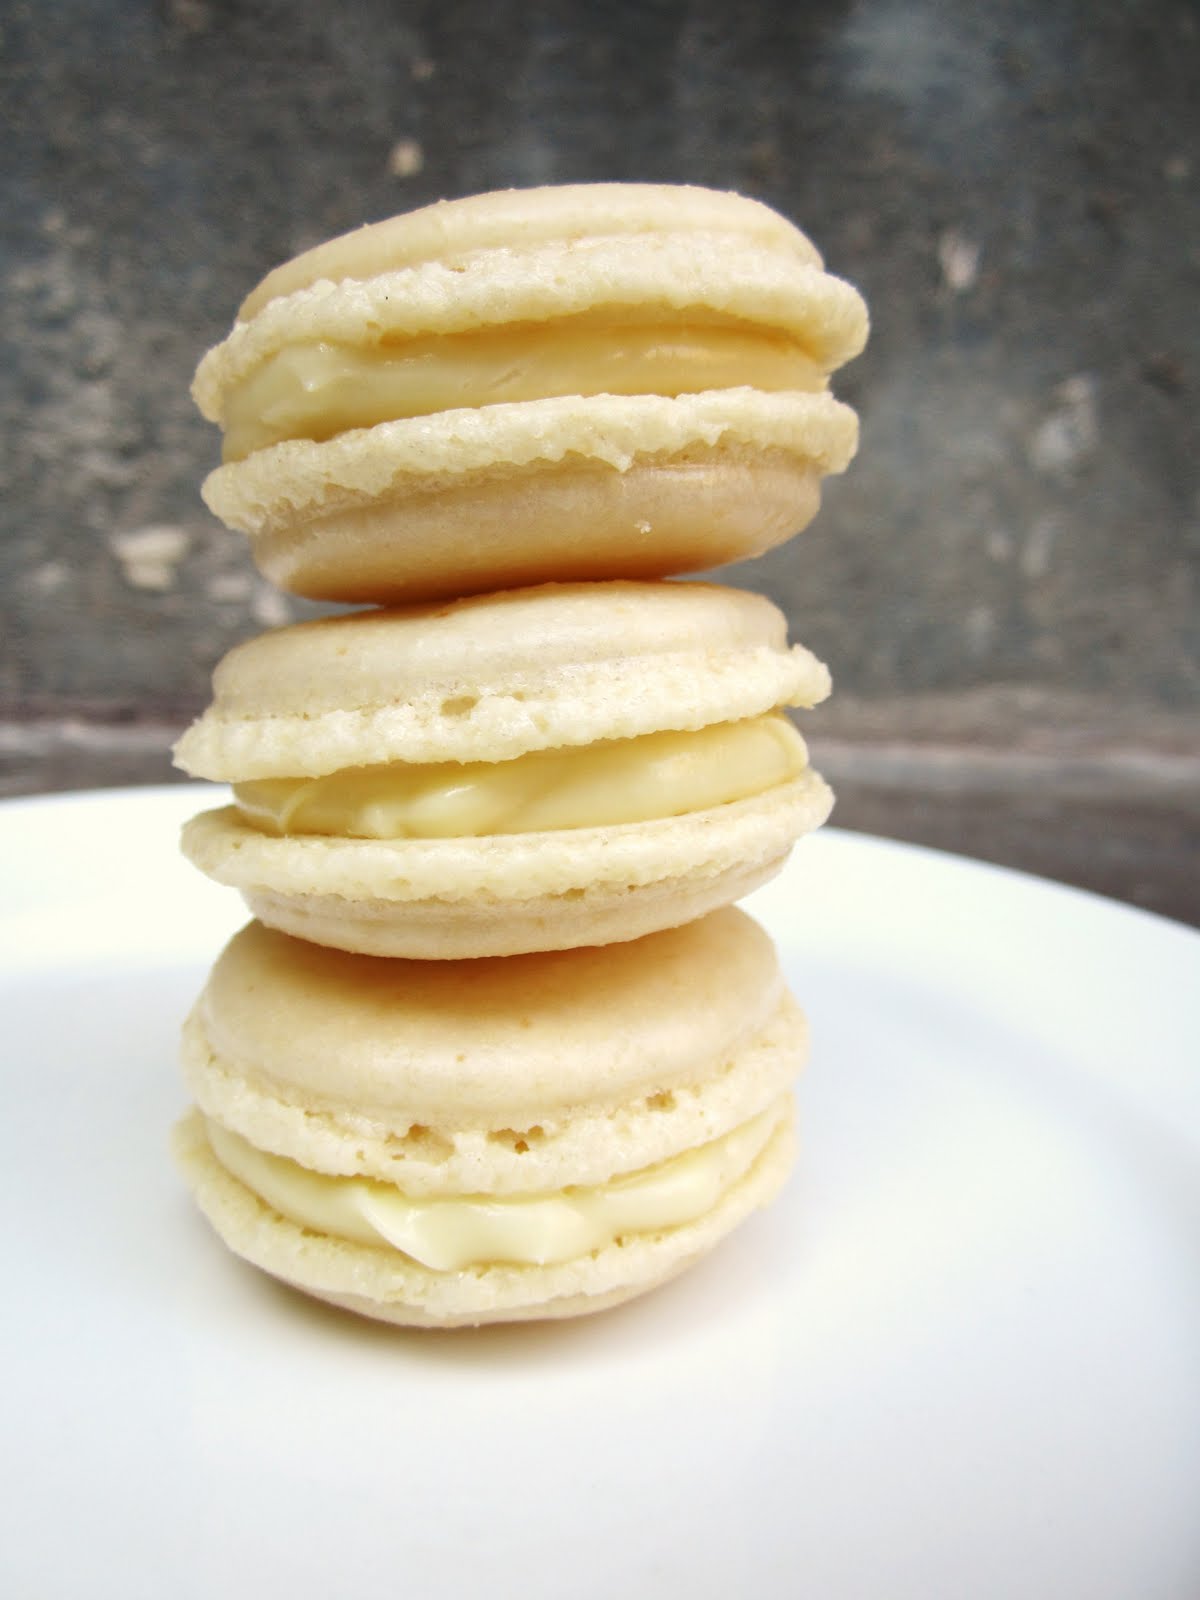
For the Filling
3/4 cup white chocolate chips3/4 cup heavy whipping cream (follow the same instructions for the ganache I made for the car cake. sorry, don't feel like typin em ova again)
Directions
1. Beat the eggs whites in an electric mixer until soft peeks form.2. Add the sugar and beat until firm peeks form in the meringue. You should be able to turn the bowl upside down without anything ploppin out. Be careful not to over or under beat though because the consistency of the meringue can either make or break your macaroons.
 |
| almost there.... |
3. In a separate bowl, mix and sift together the almond flour and the confectioners sugar. Discard whatever is leftover in the sifter (usually you have about a teaspoon left of almond bits - you want to get rid of those so your mac shells are nice and smooth)
4. gently fold in the dry ingredients into the meringue mixture. Do this in 3 or 4 increments. It should look like liquid hot magma. (austin powers? yes, no?...)
 |
| this is an example of what your dough should NOT look like (bold, underline, italics for emphasis). See how is a solid mass and not flowing nicely? If this happens, get another egg white and whip it on the side. Then add 2 tablespoons of sugar and make a little more meringue. Don't be discouraged if this happens. It is fixable. Don't waste that preciously expensive almond flour. Don't do it! |
 5. Pour the dough (hardly seems like dough but anyway) in a Ziploc bag (or pastry bag, I used Ziploc because I forgot where I hid my pastry bags) and cut the tip with a pair of scissors.
6. On a silpat or parchment paper (either works fine - I know, I did an experiment to see if there really was a difference. Martha thinks so. I say codswallop - real word. looks super odd spelled out...) Remember they spread out after the dollop so be sparing. I'd say about a tablespoon size is perfect.
7. This is the MOST IMPORTANT step. you MUST let them sit for at least 30 minutes to an hour before baking - hense why I didn't tell you to set the oven. If its on it beckons you to put those suckers in there but I say DON'T DO IT. Letting them sit out allows the macs to bake with proper "feet" which is the rough looking edge of the cookie. If you don't let them sit they will bake out or spreed out all gross like and turn hard.

8. When you can touch the uncooked macs without getting anything on your fingas and kinda bounce back I guess you could say, then they are ready to be baked. Set the oven for 280 degrees (I did 300 and it was too hot, they turned out darker than I had wanted them too) and bake for about 20 minutes. Check them regularly though. You can bake the same recipe a million times the exact same way and sometimes they just don't come out the same (I know this less from experience and more from my reading on the sub and so far its been true). Don't get discouraged. Even the best don't get it perfect every time. At the kitchen I saw an entire speed rack full of nasty cracked macs. Even the pros have bad days.
 |
| this is a perfect example of macs that didn't sit out long enough. I think another reason why they look like dog turd after its been stepped in is because they where too close to the bottom of the oven. This is one thing that all of the cook books and recipes decided to leave out. SO make sure that you are baking one tray at a time and also to make sure that it is located in the center of the oven. The goal is to cook all of the shells evenly (which means you might need to rotate half way through baking as well) |


you are officially my new favorite cousin
ReplyDelete