Showing posts with label cream cheese. Show all posts

Tuesday, March 18, 2014

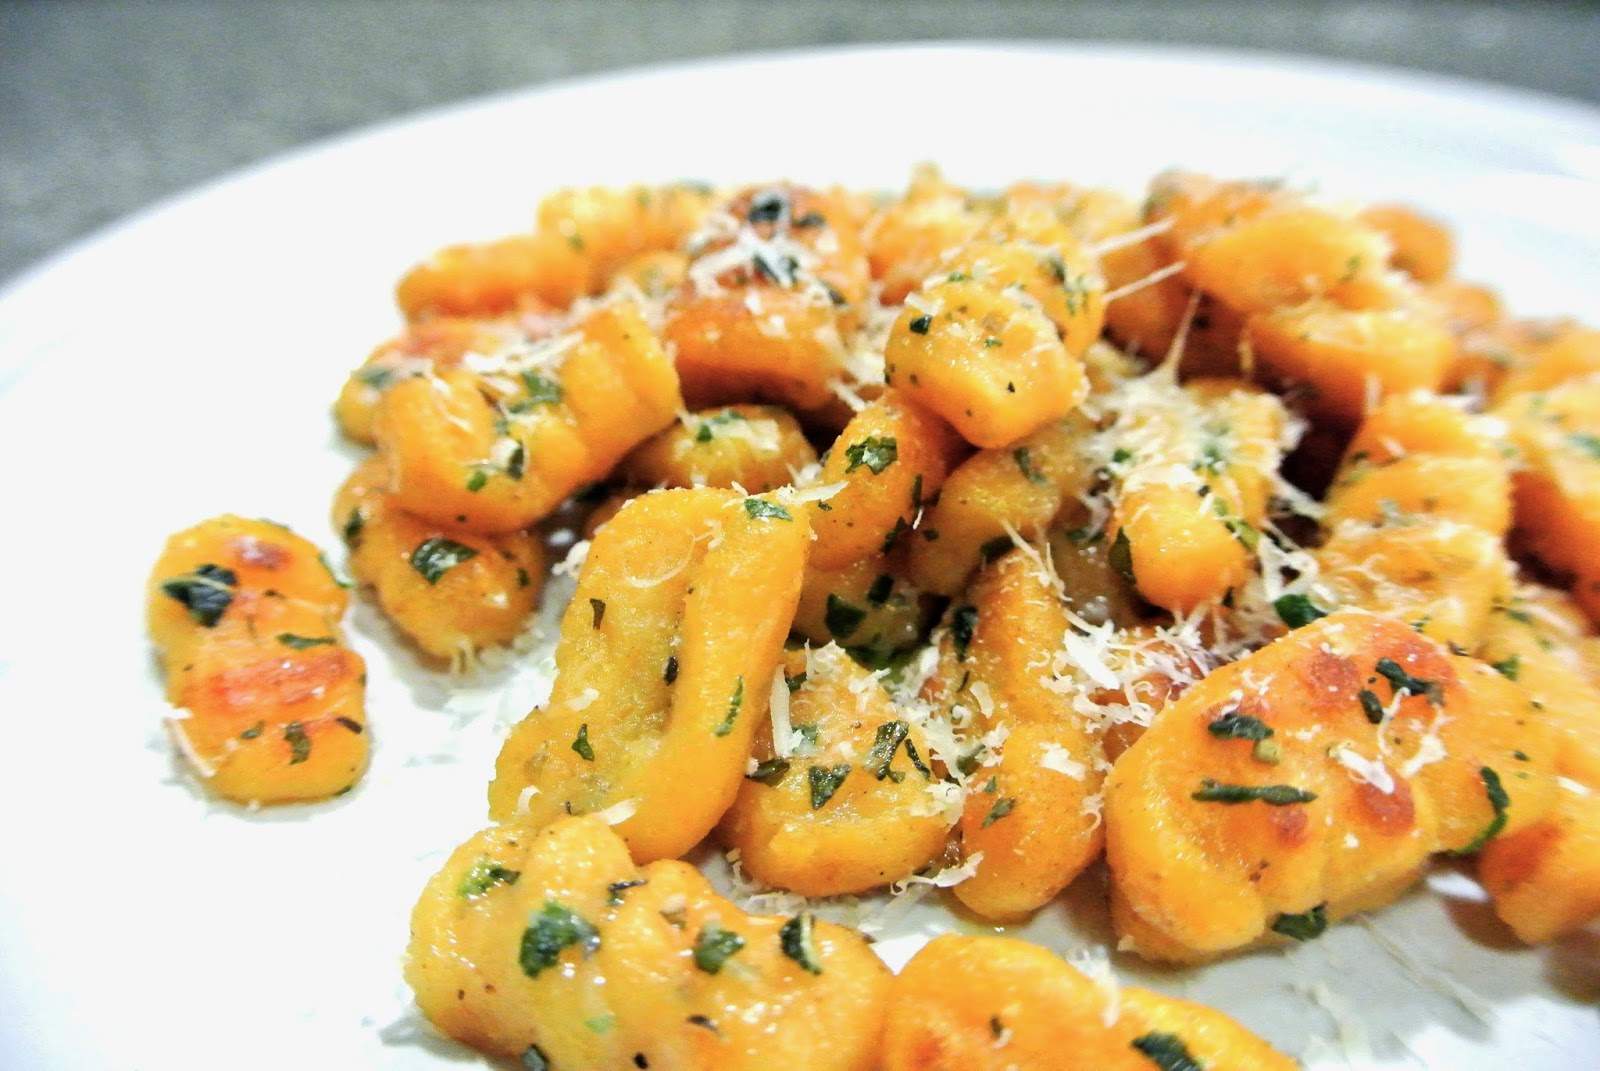
Sweet Potato Gnocchi with Browned Butter and Basil


So basically my sister, Melanie, and I are getting a bit obsessed with making gnocchi and I don't really know why. Yes, its delicious, but its insanely time consuming. Maybe its also because most of the ingredients are already available in your refrigerator or cabinet (other than maybe a potato/sweet potato or ricotta - but if you have milk and lemon juice you can make that too!) The first time I made it I didn't even have ricotta. I had cream cheese. So I made it with that. And it was so good! For my second attempt I wanted to keep things a bit more traditional to see if it made a big difference and I guess it did and it didn't. Both were honestly so good I would remake either! My next attempt will be with sour cream or something. I really like the idea of being able to use what you already have, and I feel like those can be interchangeable. I definitely need to practice more though to find out. 
Both times I made gnocchi though, I had a lot of extra time to spare and was really hungry too early in the day to start eating. I needed something to do with my hands before I started snacking up the waz. This is was the perfect solution. Most of the time when I'm cooking I lick my fingers, snack on the ingredients or frequently taste what i'm making, but that doesn't work with dough. (Unless you have snacks on the side...) So turn on Keeping Up with the Kardashians and get it work. It's worth it I promise, and so incredibly satisfying. You're ultimately making your own pasta. Who doesn't want to brag about that, right? 

Gnocchi Ingredients 
1 cup all purpose
1/2 cup cake flour
2 sweet potatoes 
1 cup ricotta cheese
1 1/2 tablespoons of honey 
1 egg
salt and pepper to taste
(additional flour may be needed during the shaping process)

-or-
1 cup flour
1 tablespoon honey
1 sweet potato
1/2 teaspoon salt 
dash of pepper 
egg
2 tablespoons cream cheese

**olive oil for boiling water

Browned Butter Glaze
3 tablespoons butter
dash of italian seasoning
1/2 teaspoon oregano
teaspoon chopped basil
truffle salt (if you have it - I'm obsessed with the stuff so naturally I try and put it on everything)
pepper to taste 
freshly grated parmesan 

Directions:
(I used microwave sweet potatoes because it is so much easier than baking and takes a fraction of the time)

In a medium sized bowl, mash up the cooked sweet potatoes. Then add the rest of the wet ingredients and mix well. Add the flour and stir gently until the dough forms a soft ball. 

On a floured work surface, break off small pieces of the dough and roll it into snakes like you used to do with play dough. (this may required additional flour because it sticks easily to the counter). With a knife, cut the dough snake into small bite sized pieces about a half an inch. (although this depends on the thickness of your dough snake - use your best judgement and just try and make all of the pieces roughly the same size)

Using your finger, roll each piece individually and the press it against the back of a fork or press the fork into the dough (either way works. I actually found pressing the fork into the dough was easier, even though I feel like thats not how they do it on TV etc.)

Gently toss the shaped gnocchi in flour and make sure not to stack them too high on top of one another because they tend to stick. 

Boil water in a medium sized pot. Add about 3 tablespoons of olive oil to prevent sticking. Gently place some of the gnocchi into the water with a slotted spoon. The gnocchi will float to the top when it is ready. Scoop them out with a slotted spoon and place them in a bowl or on a plate to the side. Continue to do this until all the gnocchi has been cooked. Don't try and do too much at once to prevent them from sticking to one another. You also wanted to guarantee that they all cook evenly. 

Heat the butter over medium high until golden brown (this happens quickly so be careful) Add the cooked gnocchi along with the other ingredients and let sit so it can get a nice crispy edge for several minutes. Add some freshly grated parmesan and serve immediately.  


Wednesday, January 15, 2014

Spinach and Artichoke Dip

I wanted to actually make something for at least one football game this season, so I decided to make spinach and artichoke dip for the Saints vs. Seahawks playoff game. I also happened to be hunger over with a serious case of the munchies when I was in the grocery store earlier that day, and just couldn't pass up the idea when it popped in my head. You should have seen the bizarre assortment of food I had in my basket as I was checking out. If it wasn't for the dip ingredients, it really wouldn't have made any sense at all. I had angel hair pasta, boxed blueberry muffins mix (only a hungover me would go for this), ice cream, salsa, diet sunkist (SO underrated let me tell you) and then obviously frozen spinach, cream cheese, etc. etc….


Spinach and Artichoke Dip 

Ingredients 
1 8 oz. package of cream cheese, room temperature
3 cloves of garlic, minced
1 teaspoon chopped fresh basil (can use dried)
1/2 cup shredded mozzarella cheese (plus more for top)
1/4 cup parmesan cheese
1/4 cup sour cream or mayo
1 teaspoon onion salt
1 frozen square thing of spinach, defrosted
1 14 oz. can of artichoke hearts, rinsed and chopped
salt and pepper to taste

Directions 
Preheat the oven to 350. Rinse and chop the artichoke hearts and set aside.

In a medium bowl, mix together all of the ingredients except the spinach and artichoke hearts. (I started with a whisk but that was a pain because the thicker ingredients kept getting stuck. I thought I large spoon was easiest.)

Squeeze out as much liquid from the spinach, break it apart with your hands and add it to the bowl with the other ingredients and mix in with a spatula or large spoon. Then gently stir in the artichoke hearts.

Spread the dip evenly into a baking dish (either one you are serving or a square cake pan. I don't have pretty serving dishes so I used a pan and just put it in a bowl after. I feel like it would have stayed warmer longer in the pan but it wasn't very pretty looking)

Sprinkle a light even layer of mozzarella on top and bake for 25 minutes.


Sunday, July 22, 2012

Whole Foods Chantilly Cake


My lovely sister, Melanie, was home for about two weeks over 4th of July week (weird how it wasn't week-end). We also got to celebrate her birthday too, which she apparently hadn't celebrated at home for about 6 years. Since I went to boarding school and then to college, I know exactly how that feels, it I knew it was special that she got to finally celebrate at home with her family. Since I almost always bake something when I go to my grandmother's house and it was also Mel's b-day, I thought this would be the perfect time to bake a cake.

There is no comparison to the Whole Foods Chantilly cake. It is simply fantastic. Sold by the heavenly slice, this cake is exceptionally moist and the most incredible frosting. So naturally, my instinct was to try and make it myself. And I must say, it came out pretty damn good. The cake wasn't as moist, but I'll probably play around with that recipe a bit more before it's perfected. The Chantilly cream frosting however was sensational. I mean, anything with both cream cheese, whipped cream, AND mascarpone has got to be amazing (which it was).

.....I also admit being lazy when I took these pics, and thus I really don't think they do the cake justice. It was delicious and I definitely will be making it again. Maybe I'll have a DSLR camera and I'll finally get accepted onto foodgawker....(yeah right) but a nerd can dream, right? 


Whole Foods Chantilly Cake 
What you will need: 
Simple yellow cake recipe (I used THIS ONE)
Chantilly cream frosting
Macerated strawberry/raspberry puree  
Apricot fruit glaze (or just thinned and microwaved apricot jam)
strawberries 
blackberries
raspberries 
blueberries 
strawberries 

Chantilly Cream Ingredients
8 oz container cream cheese, room temp
8 oz container mascarpone cream cheese, room temp
1 cup confectioners sugar
2 cups heavy whipping cream
1 teaspoon almond extract

Berry Sauce
Blend together strawberries and raspberries (or just raspberries. I didn't have enough so put strawberries in there too).  In a small sauce pan over medium low heat, add the berry puree and 1/4 cup of sugar. Let this sit for about 5 or so minutes until you think the sugar has disolved into the puree.

Directions
1. Whip the cream cheese, mascarpone and confectioners sugar together until light and fluffy.


2. In a separate bowl, whip together the heavy whipping cream and almond extract until stiff peaks form. Make sure not to over mix because it will become grainy and change the texture and appearance of your frosting. 


3. Gently fold the whipped cream into the mascarpone cream cheese mixture until fully incorporated.

 The next steps I show you how to assemble the cake. I think the pictures are pretty self explanatory. Read the captions for more details about each pic


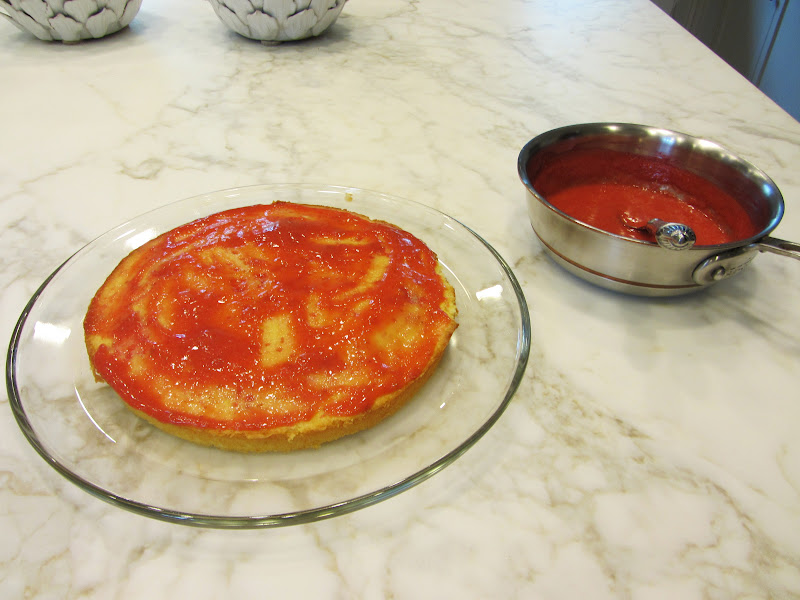
Let the sauce sit and soak in for a bit. I think this adds a bit of extra moisture to the cake
Spread a generous layer of the frosting on top of the sauce. With the spatula, make the outer rim of the frosting higher than the center so the fruit and sauce stay in the center of the cake rather than spill out the sides when you add the top layer of cake.
This is the crumb coat before the second coat of frosting. This is crucial for a smooth finish on your cake. The key is to not let the spatula touch the cake during round 2 of frosting. (for the crumb coat, you do)
Now the fun part - arrange your fruit! I cut the kiwi's in half. I also started with the biggest, aka the strawberries, and gradually worked my way down to the smallest (the blueberries)
Mel tryin to sneak a taste before we dig in. No one wanted to sing. LAME


Slice...
Serve!

Thursday, April 19, 2012

Banana Cupcakes with Cream Cheese Frosting


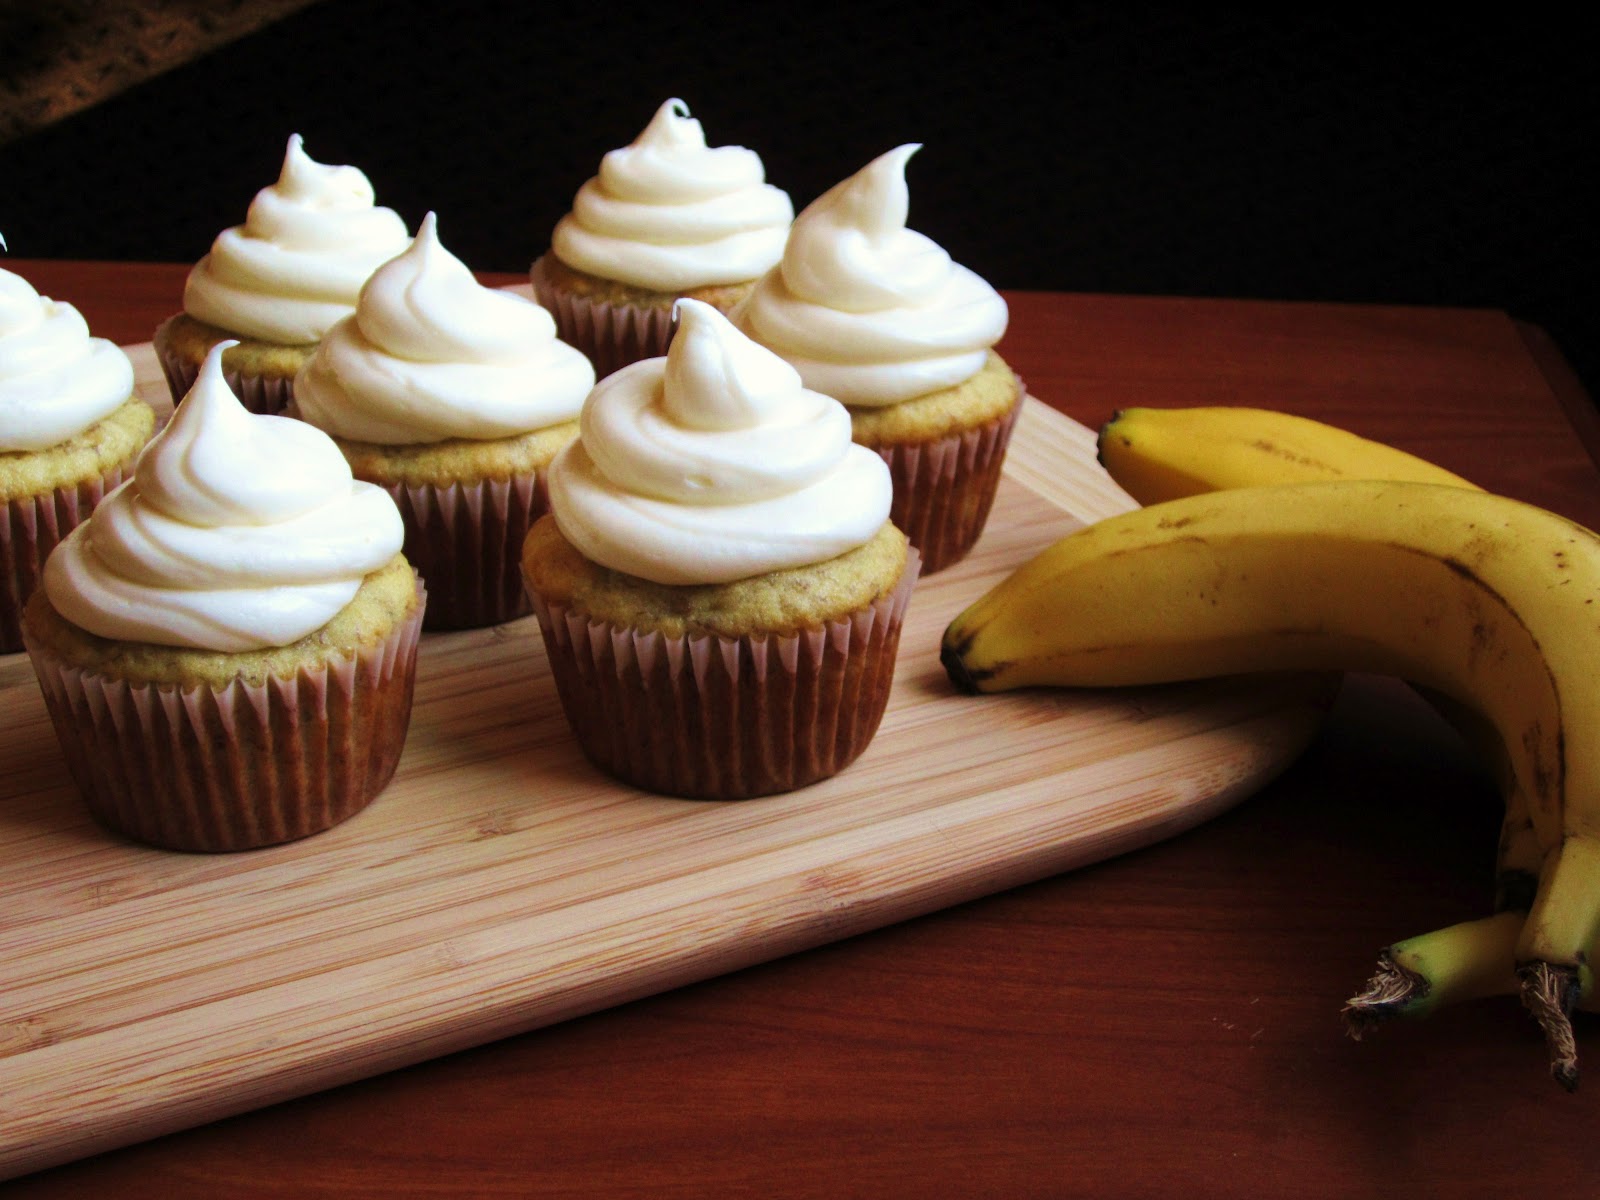
If I didn’t have a meal plan, I don’t think I would make half as many banana recipes as I do. There just so free it’s really hard for me to resist. Not to mention my roommate refuses to break apart the banana (umm clumps? bushes? clusters?) at the grocery store, so we always end up with extras from that as well. The banana cupcakes were good, but I feel like I did something funky with the cream cheese frosting. I also felt like they tasted more like muffins than cupcakes, which made the frosting kind of unnecessary. I did use cheap cream cheese though, so maybe that made a difference? Who knows... Butterlane has a really good banana cupcake recipe, so I think I’ll try that one next time. It’s not online though. They gave me the recipe when I took a cupcake baking class there with my sister, so I’m not sure what the rules are about posting it on the internet. Something tells me I might need their permission first, but I’m not 100% sure.

Currently I have five more overly ripe bananas sitting on my counter and I feel like I have zero ideas as to how to use them. I guess I can make more banana bread? Maybe mash them up and make banana bread pancakes? Maybe a full cake instead of just cupcakes? What else can you do with old bananas?

If you have any ideas, let me know because I’m drawing a huge blank over here….


Click READ MORE for the recipe (my mom didn't realize until I showed her the link. It is a pretty small link though, so I can see how she missed it...)


Banana Cupcakes with Cream Cheese Frosting 

I used a recipe I found off of foodnetwork.com by Gina from Down Home with the Neely's - which is actually a great show. I definitely want to try out some of their dinner recipes this summer.

Ingredients

1 cup all-purpose flour
½ teaspoon baking powder
½ teaspoon baking soda
¼ teaspoon salt
1 stick unsalted butter, room temperature
½ cup sugar
¼ cup sour cream
1 ½ teaspoons vanilla extract
2 large eggs
2 large overripe bananas, peeled, and mashed

The night before baking I decided to smash the bananas and put them in a Tupperware container in the fridge. I wanted to see if it would ripen faster and make the cupcakes moister. Surprisingly I was right. I am definitely going to try this technique when I make bread as well. I tried this because when I recently tried making banana bread again, it came out a much denser and was a lighter brown than the first time. I think letting the peeled and mashed bananas kind of “ferment” themselves overnight will prevent this from happening. I’ll have to try it though and keep y’all updated with my results. 

Directions 
Preheat oven to 350˚

In a separate bowl, combined the flour, baking powder, baking soda, and salt. Set aside.

Cream the butter and sugar together until light and fluffy. Then add the sour cream and extract.


Add the eggs, one at a time, until incorporated.

I thought this was weird looking at first. It reminded me of cottage cheese. There was a lot more egg than most recipes but it turned out tasting good so don't be discouraged if it looks something like this. 

Starting and ending with the dry ingredients, rotate folding in the wet and dry ingredients until just incorporated, making sure not to over mix.


Fold in the smashed banana.  


Scoop into cupcake liners with an ice cream scoop and bake for 20 minutes or until a toothpick comes out dry. 


Wednesday, March 14, 2012

Ooey Gooey Butter Cake

My step dad Jon used too get an ooey gooey butter cake as a gift around christmas time every year. For some reason we don't get them anymore and I can't tell you how depressing that really is. I've been dying to make it every since we stopped getting them and I finally finally got around to doing it. I mean the cake mix had been sitting in the cabinet staring at me for a while so it really had to be done. It was sooo good. However, as you can see from the pictures, they are not as ooey or gooey as they should be. (although my amazingly sharp and efficient Shun knife also can contribute to the super clean edges as well) When I was baking it I was honestly too scared to under-cook it and have it too ooey, so I put it back in. Bad choice. It's called ooey gooey cake for crying out loud! It was still delicious but it would have been better if I had only cooked it for 40 minutes. Remember for next time! I also really think it tastes better cold too. Perhaps its because the first time I tried it it was right out of the fridge, but who knows.


Ooey Gooey Butter Cake
from Paula Deen

Ingredients
for the Crust
1 Box of Yellow Cake Mix
1 egg
1 stick of unsalted butter, melted

for the ooey gooey
1, 18 ounce package of cream cheese
2 eggs
1 teaspoon of vanilla
8 stick of unsalted butter, melted
2 cups of confectioners sugar

Directions 
1. Preheat the oven In a bowl with an electric mixer, mix together the cake mix, egg and melted butter.
 

2. Pour the mixture into a greased square or rectangular pan. Firmly press down with a spatula until smooth and even.


3. In that same bowl (which should be clean because the previous crust mixture should have formed somewhat of a solid mass) beat the cream cheese until light and smooth.


4. Then add the eggs, vanilla, and butter. Blend well.

5. Lastly, add the confectioners sugar and blend on high for about 2 minutes.


6. Pour the cream cheese mixture over the crust and bake for 40-50 minutes. (I baked closer to 50 and I regret it. I was afraid of under-cooking it too much but don't be! that's the point!) Next time I will only bake for 40.


7. Let it cool completely and sprinkle gently with confectioners sugar